
Part Codes can be used to indicate when parts are obsolete, unavailable, or should be utilized as a reference. When utilizing Part Codes, there are a few things you should know:
- Part Codes can be used to replace a part number during the publishing process and still maintain a unique part name and its additional metadata.
- Part Codes are non-orderable by default
- Part Codes can be created to describe types of non-orderable parts such as obsolete, part number not available, reference, etc.)
- Part Codes must be configured before any interactive part pages containing them are published, otherwise the part will be orderable and may impact customers with ERP integrations
One you have identified the Part Codes you'd like to configure, this article will walk you through how to create and manage them.
Article Topics
How to Create a Part Code
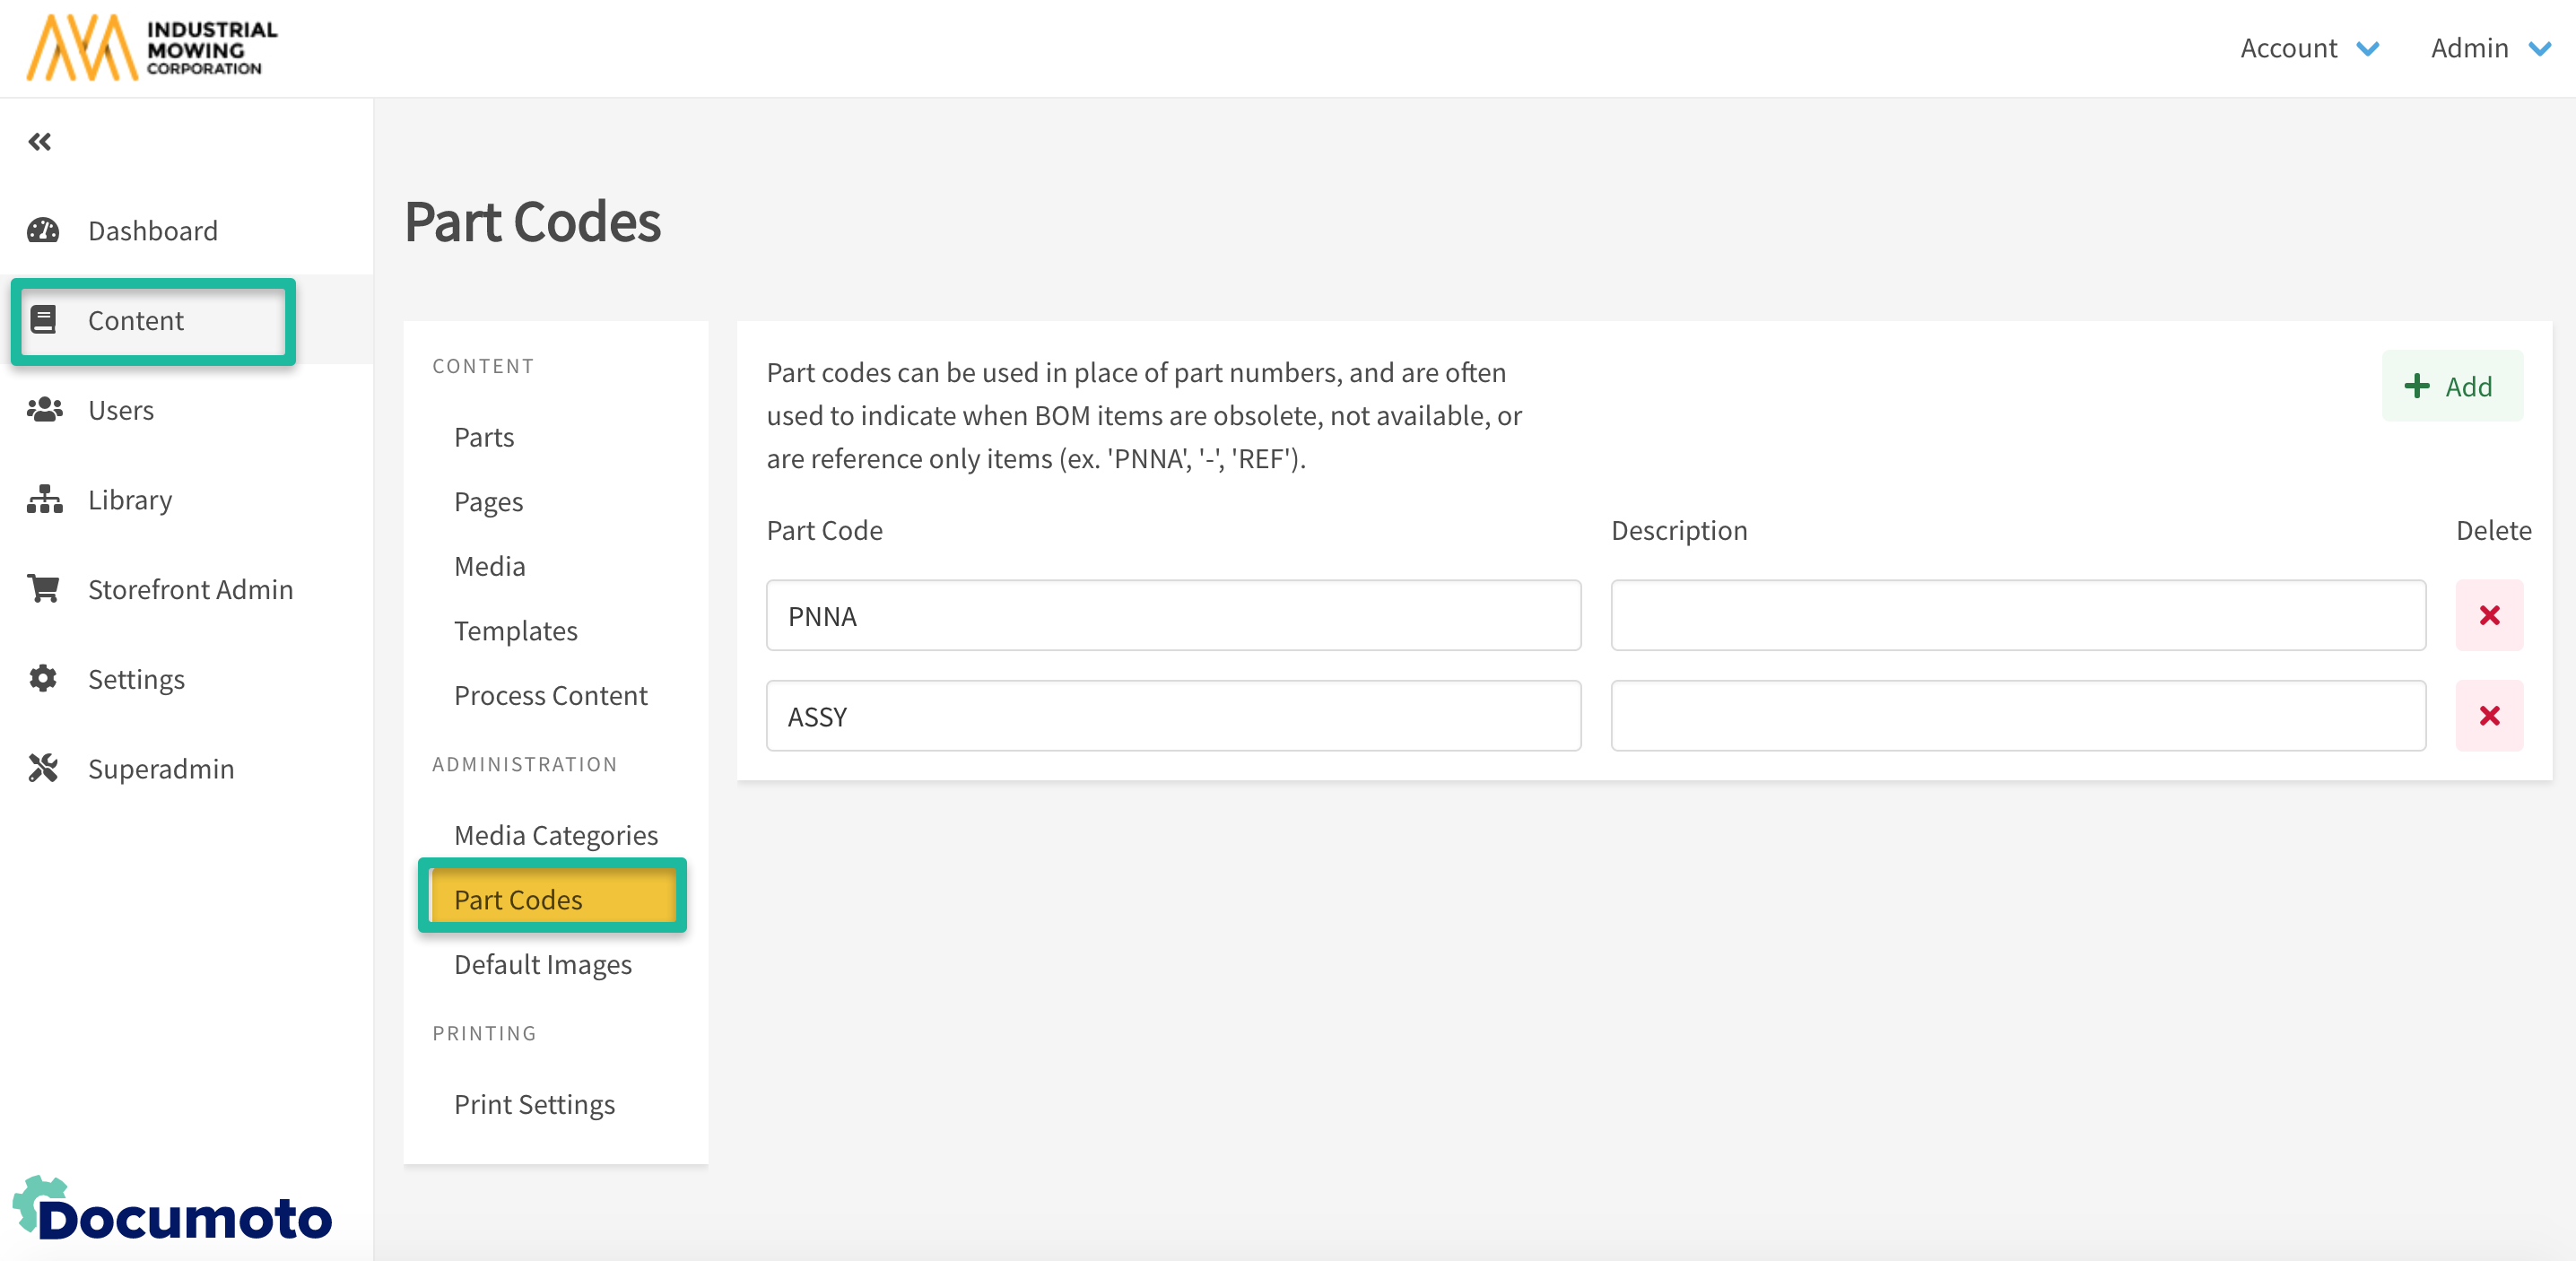
- Within Admin Center, go to Content > Part Codes.
- Click +Add to create a new Part Code.
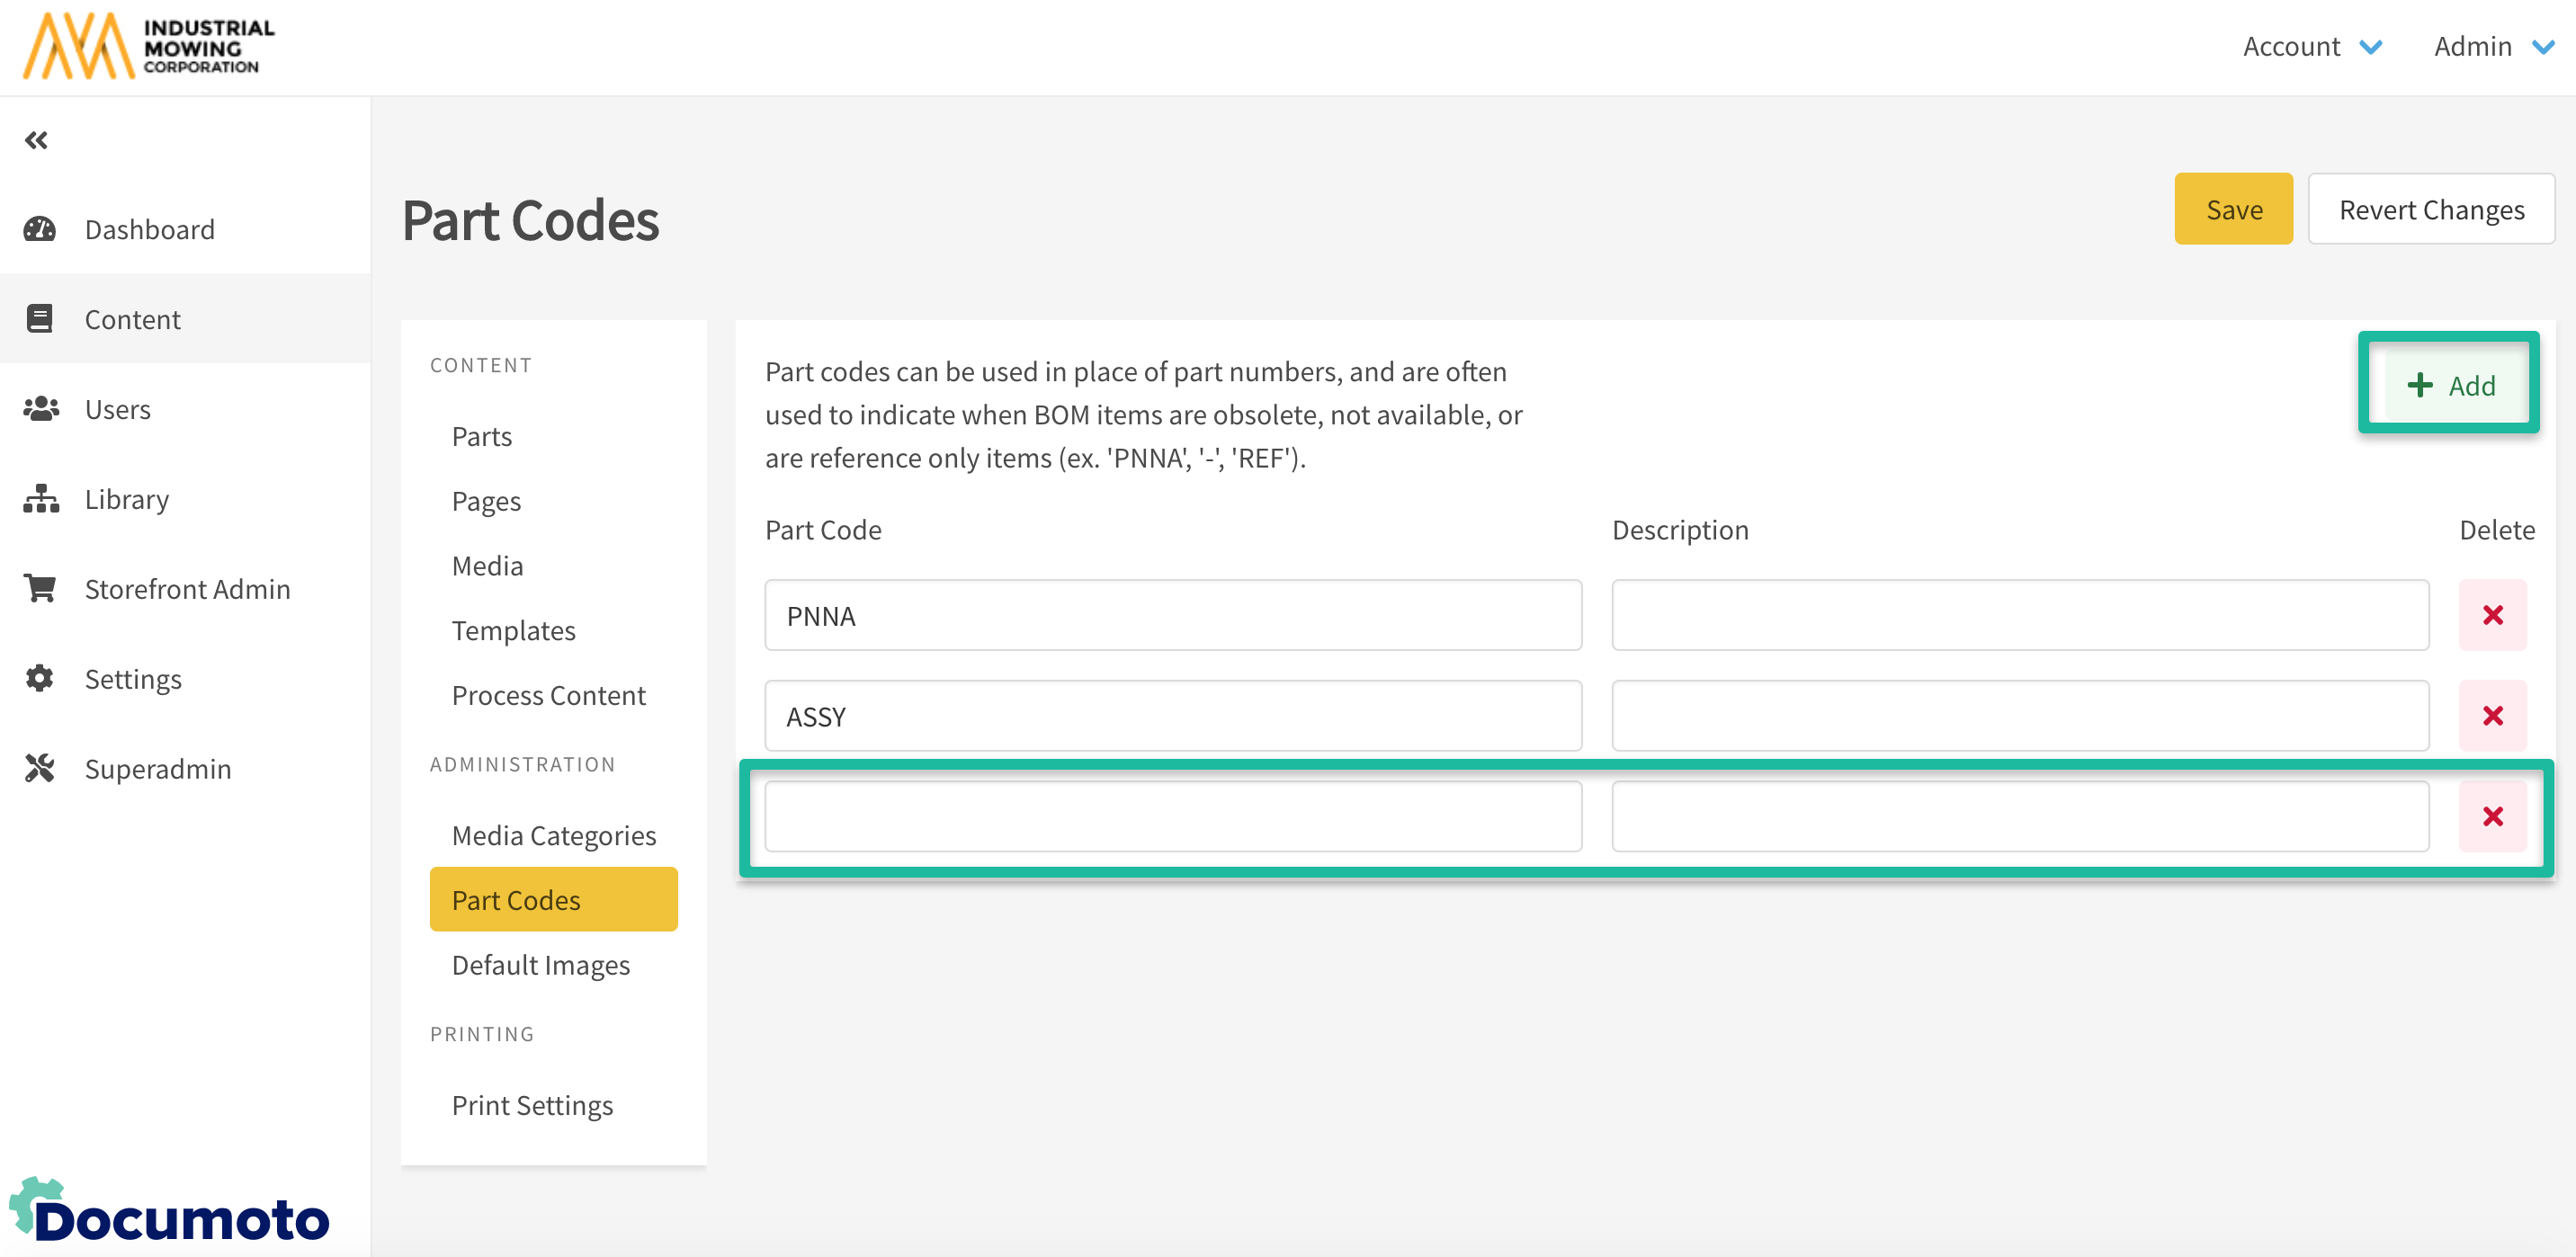
- Enter the part code in the Part Code field.
- Enter the part code description in the Description field.
- Examples of part codes names and their associated descriptions include:
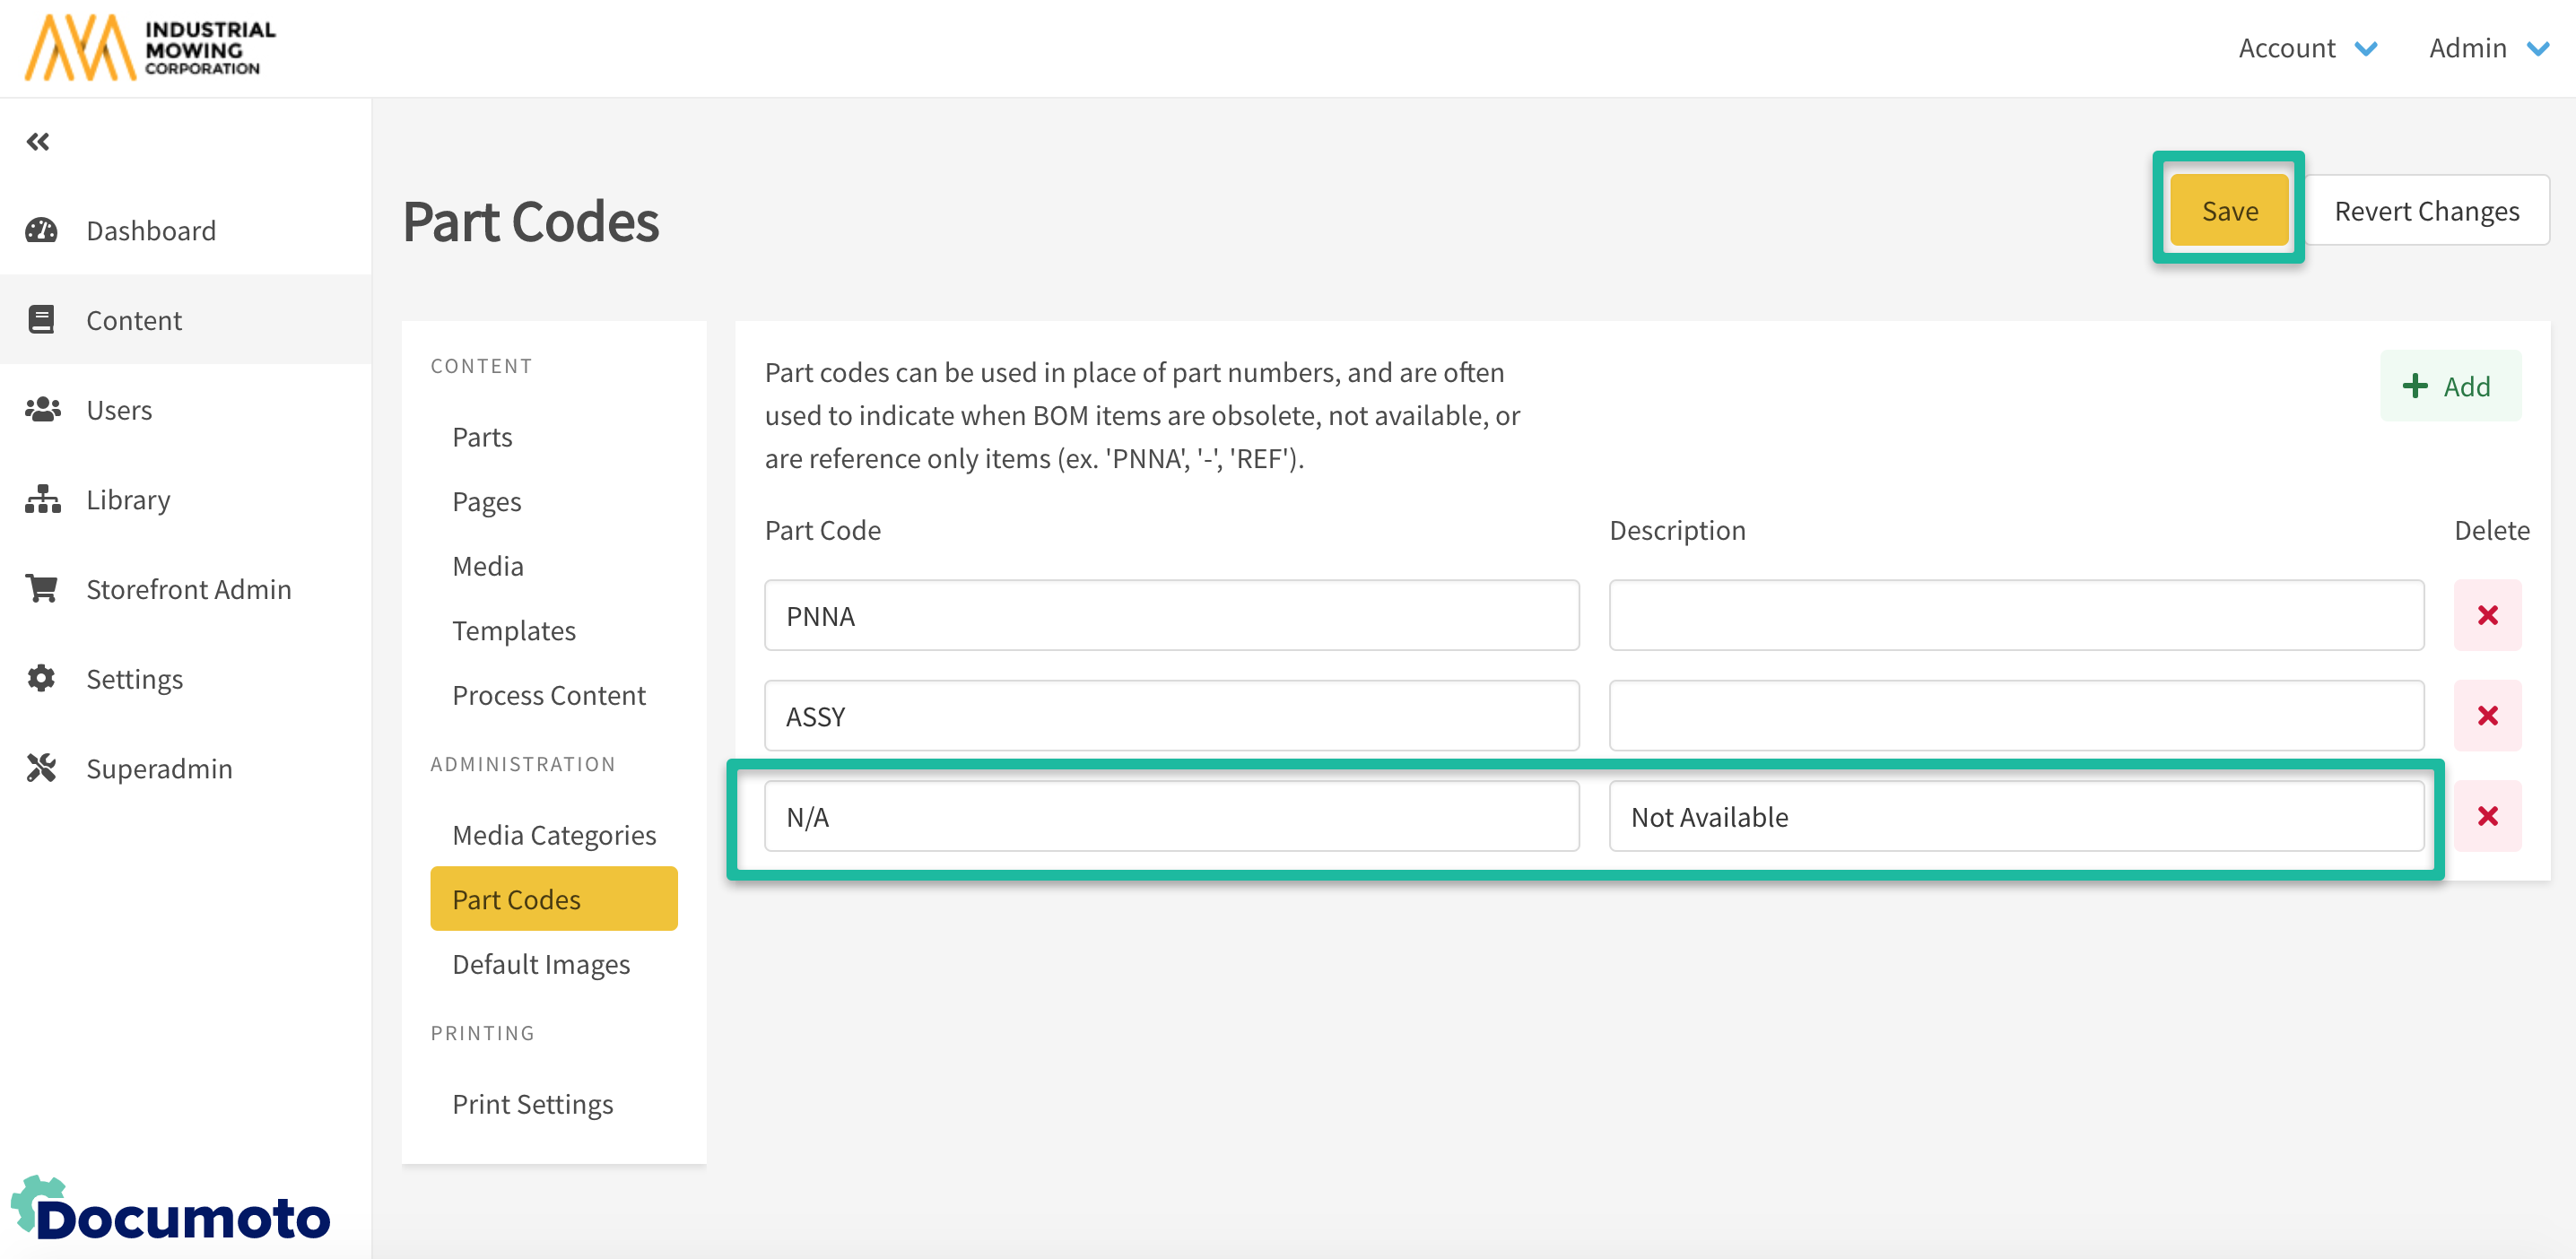
- PNNA: Part Number Not Available
- NA: Not Available
- OBS: Obsolete
- REF: Reference Part Only
- CALL: Call your company representative for more information.
- Click the Save button when you have entered information into both fields.
- Your new part code should now show in the Part Codes Grid.
- You may now use the part code in place of part numbers on interactive parts pages.
How to Edit and Delete Part Codes
- Within Admin Center, go to Content > Part Codes.
- Edit the part code by typing in the Part Code or Description fields.
- If you are editing the part code, ensure that you click Save after you are done making changes.
- If you are deleting the part code, click the X next to the part code row.
- Click Delete in the Confirm Removal pop-up.