
This article provides an high level overview of how to create an interactive Parts Page that can be added to Books and Book Templates in the Documoto Admin Center.
Article Topics
- Page Creation Overview
- How to Create a New Parts Page
- How to Use Page Builder to Add Page Components
- How to Import a BOM for a Parts Page
- How to Add Illustration(s) to a Parts Page
- How to Hotpoint a Parts Page
- How to Publish a Parts Page
Page Creation Overview
In order to create a Parts Page, a Publisher must complete the following five-step process:
- Create a new Parts Page
- Import a BOM
- Add Illustration(s)
- Add Hotpoints
- Publish the Parts Page
It is important to note that prior to publishing, the Parts Page will be in a Draft status. As a result, any components (e.g. BOM, Illustration, Hotpoints) added to the Page will not be visible in Page Viewer or the Library - until the Page is successfully published.
For more information on Drafts and how to use them, please refer to: How to Manage Drafts of Parts Pages.
How to Create a New Parts Page
- Within Documoto Admin, go to Content > Pages.
- Click +Add.
- Select Parts Page from the Type dropdown.
- In the Page File field, enter a page filename.
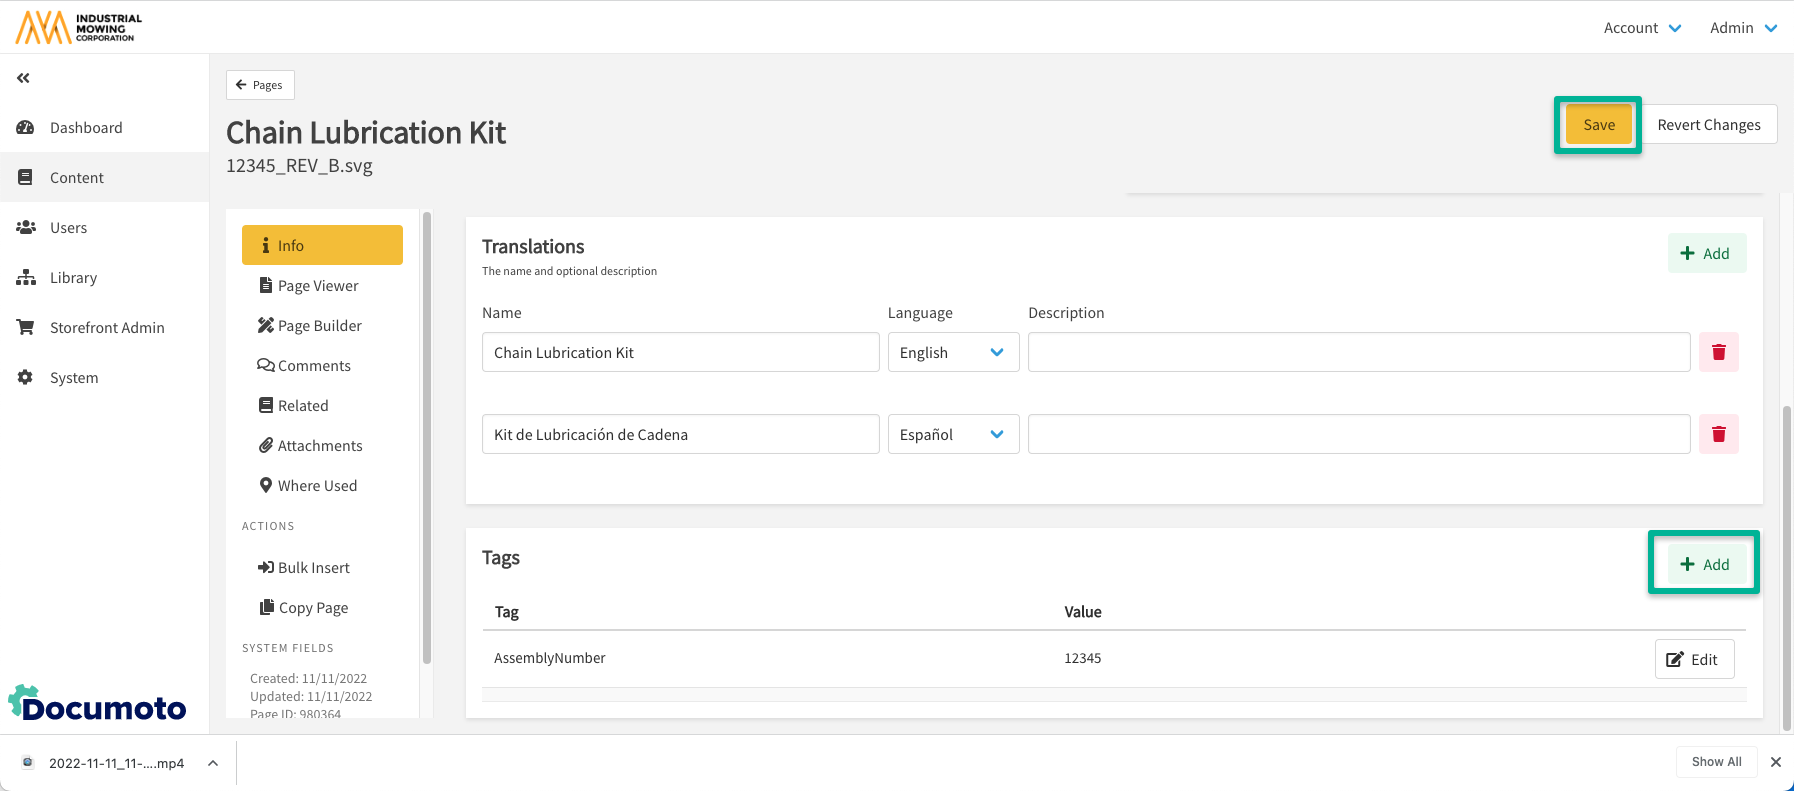
- In the Translations section, enter an English Name.
- To add additional translations, click +Add, select the desired language and enter a Name.
- Click Save.
- Optionally, click +Add in the Tags section to add a Page Tag (if applicable).
- Click Save.
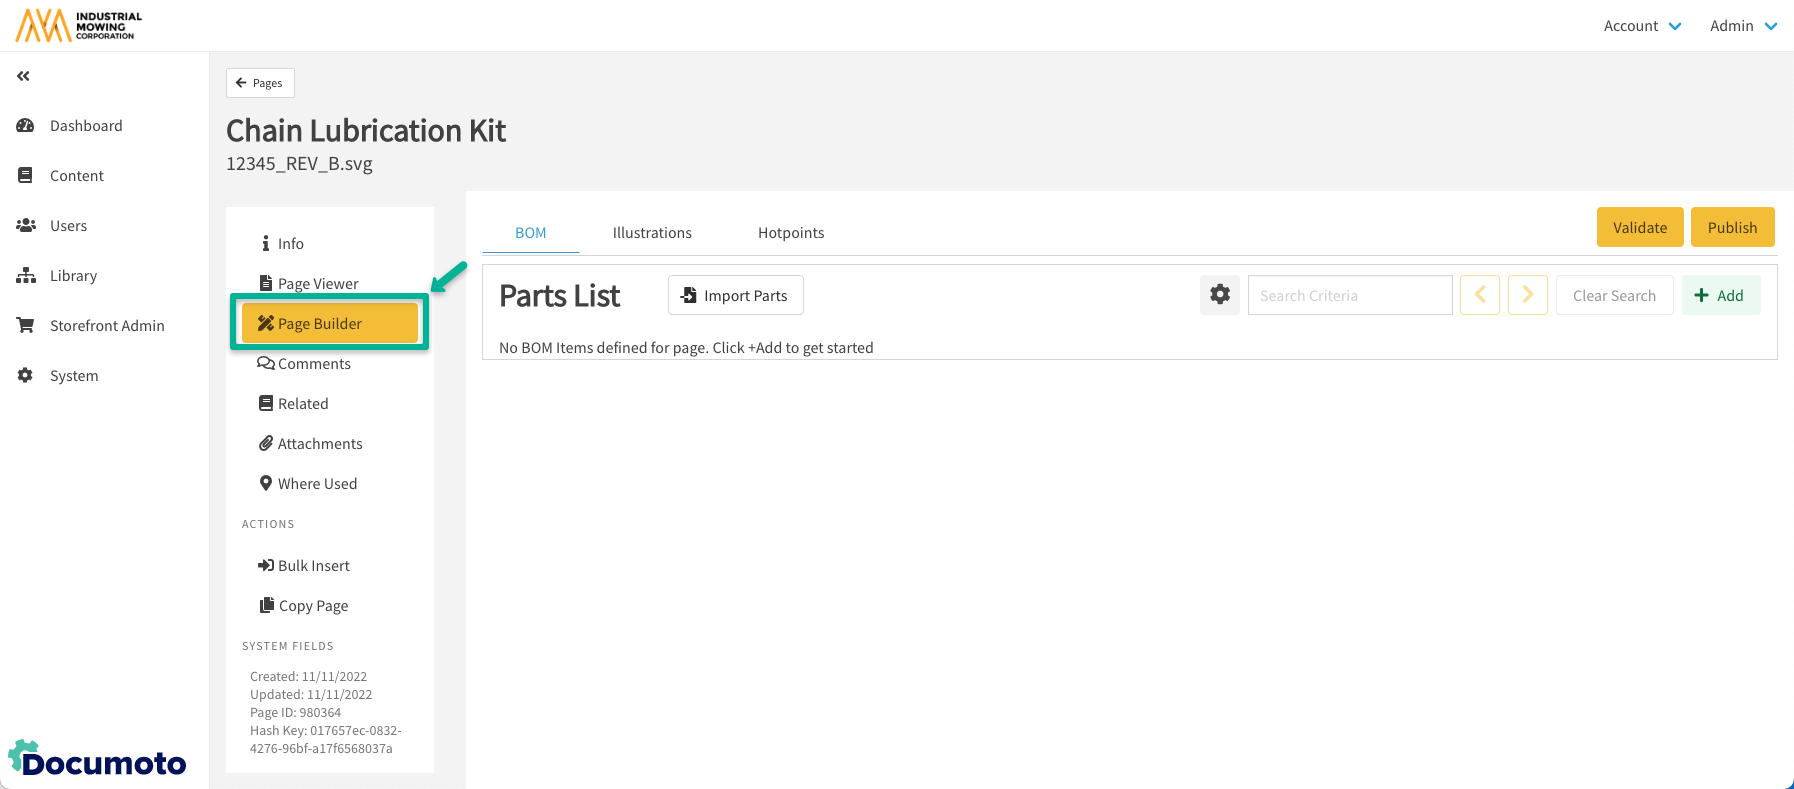
How to Use Page Builder to Add Page Components
After creating a Parts Page, click Page Builder to build the Page by adding the following Page components:
- BOM (bill of materials) or parts list
- Illustrations or diagram images
- Hotpoints
Any components added to or edited on a Page while in Page Builder will not be visible in Page Viewer or the Library (if the Page is already in a Book) until a Publisher successfully publishes the page.
How to Import a BOM for a Parts Page
For detailed BOM import options and instructions, please refer to: How to Import a New Bill of Materials (BOM) for a Page or How to Edit an Existing Bill of Materials (BOM) for a Page.
- While in Page Builder, ensure you are on the BOM tab.
- Optional: First verify the BOM List Settings.
- Click Import Parts.
- Select an Input Source.
- If the BOM was imported with column headers, select Contains Header Row checkbox. If not, leave unchecked.
- Under BOM List Options, ensure the Lookup/Load Parts from Documoto on Import checkbox is enabled.
-
NOTE: If the Lookup/Load Parts from Documoto on Import checkbox
is not enabled, Part data that exists in Documoto will not
be loaded to the BOM - which may result in the Publisher
unintentionally wiping out existing Part data, such as
Tags and Hotpoint Links, upon publishing the Page.
-
- In the Data Mapping/Sample Data table, click on any fields in the Column Name column that indicate **Not Mapped** and map them to an available Documoto field name. Use the directional arrows on the Sample Data column to preview additional row field data as needed to appropriately map the columns.
- Click Submit.
- Edit the BOM, as needed (drag and drop rows, delete rows, update row data, etc.) in the Parts List editor.
- Click Save.
How to Add Illustration(s) to a Parts Page
- While in Page Builder, click the Illustrations tab.
- To add an image file, there are three options:
- Click Browse and add the image from your local file system.
- Drag and drop the image into Drop file zone in the Illustration editor.
- Screenshot or copy the image to your clipboard, click on the white box on the left of the Illustrations editor and use keyboard controls to paste.
- Click + Add to add additional Illustrations.
- Modify illustrations using the Line Tool, Shape Tool and Text Tools as needed.
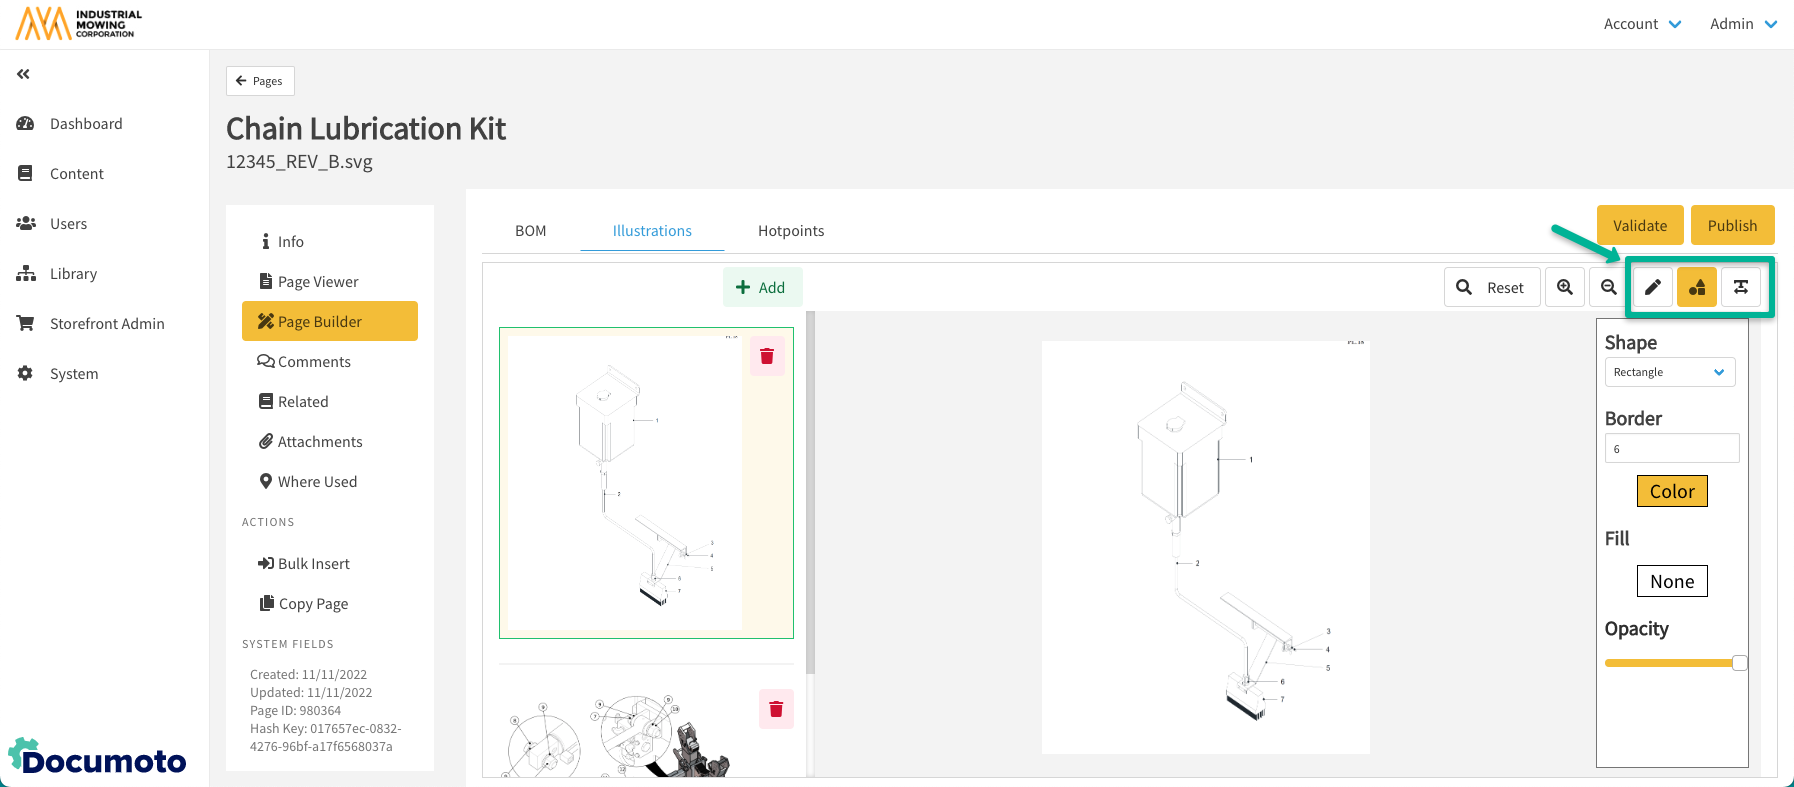
- Click Save.
For options and detailed instructions for editing or updating an Illustration, please refer to: How to Edit or Update an Illustration
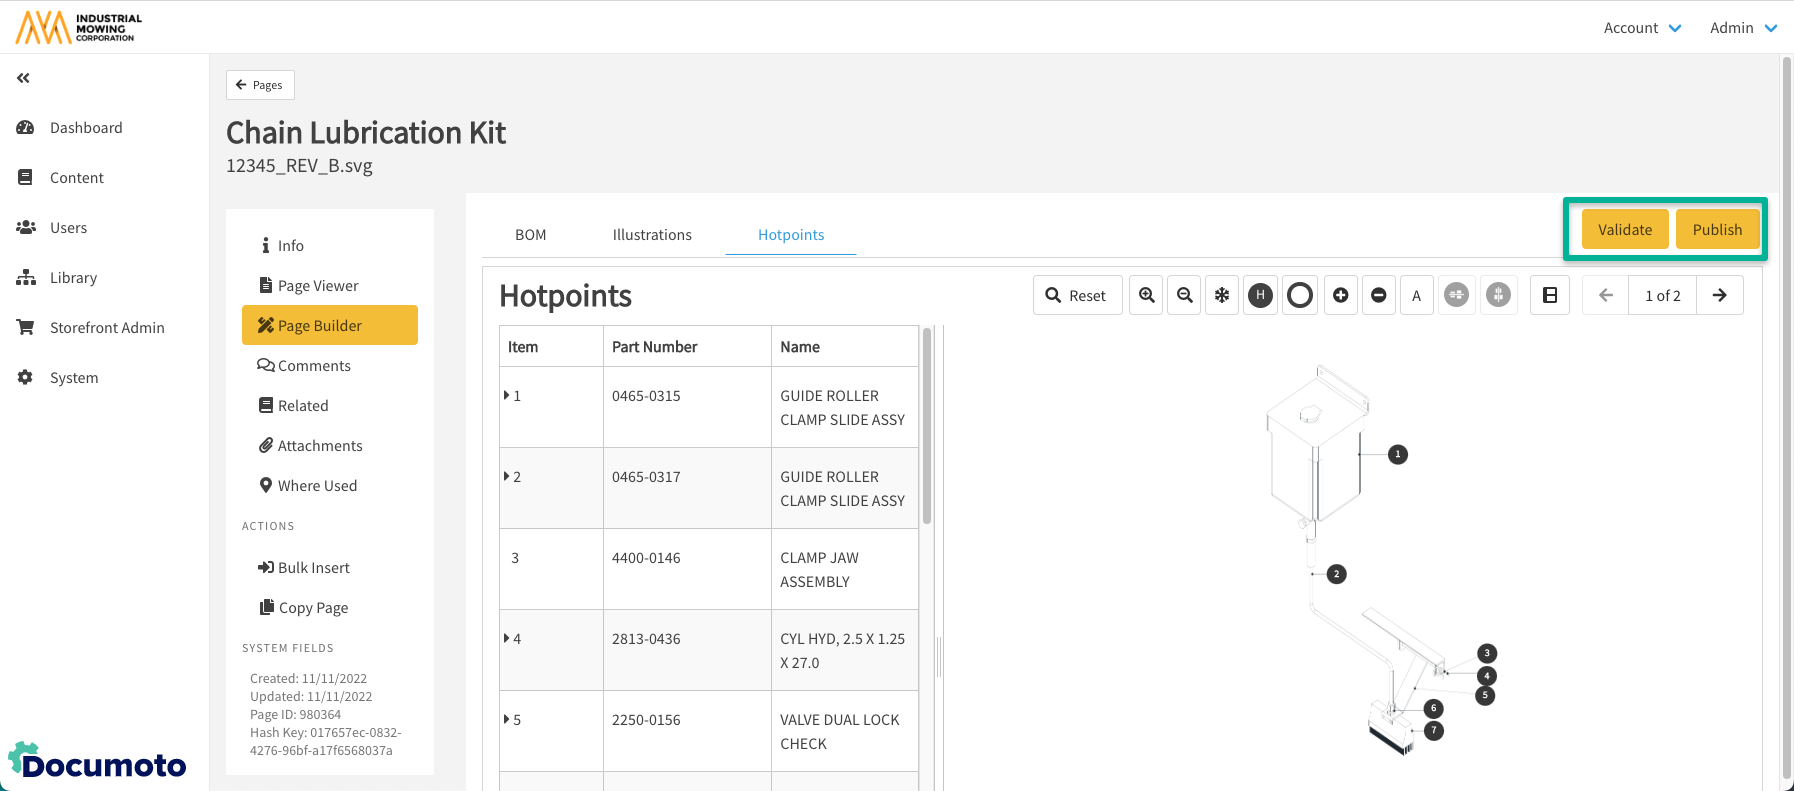
How to Hotpoint a Parts Page
For detailed hotpointing options and instructions, please refer to:
Below are basic instructions for hotpointing a Page.
- While in Page Builder, click the Hotpoints tab.
- Click the A button to enable auto-hotpointing.
- Select the auto-hotpointing algorithm that best fits your image type and callout type.
- Click Process.
- If needed, click the H button to enable manual hotpointing.
- To select an item number to hotpoint, either:
- Manually select the item number in the BOM by clicking on it
- Enter the item number using your keyboard and Page Builder will select it in the BOM
- Click on the callout in the Illustration where you would like to place the hotpoint.
- Repeat step 3 and 4 for all items in the BOM.
- In the Hotpoint toolbar, click on the Increase Hotpoint Size + icon to enlarge the hotpoints.
- In the Hotpoint toolbar, click on the Outline Mode O icon to toggle on/off the hotpoints and verify that they are numbered and aligned correctly.
-
NOTE: Always check and review hotpoints for accuracy
when manually OR auto-hotpointing diagrams
-
- Use the cursor to drag any hotpoints around the image in order to realign.
- Note: You may also use the Shift + Arrow keys to move hotpoints more precisely
- Note: You may also use the Shift + Arrow keys to move hotpoints more precisely
- Click Save.
How to Publish a Parts Page
The final step of Parts Page creation is to publish the Page. Publishing the Page will take the Page out of Draft status and input all page components (BOM, Illustration(s), Hotpoints) updates you have made into the live version of the Page in the Documoto Library (if the Page has been added to a Book) and Page Viewer.
- While in Page Builder, on any tab follow the steps below.
- Optional: First click Validate to verify that there are no Errors that will prevent the page from publishing successfully.
-
NOTE: Errors will prevent the page from publishing,
but Warnings will not.
-
- Once validated, click Publish.
- While the Page is publishing, Page Viewer will display the following message in red: Page Publishing Job in progress
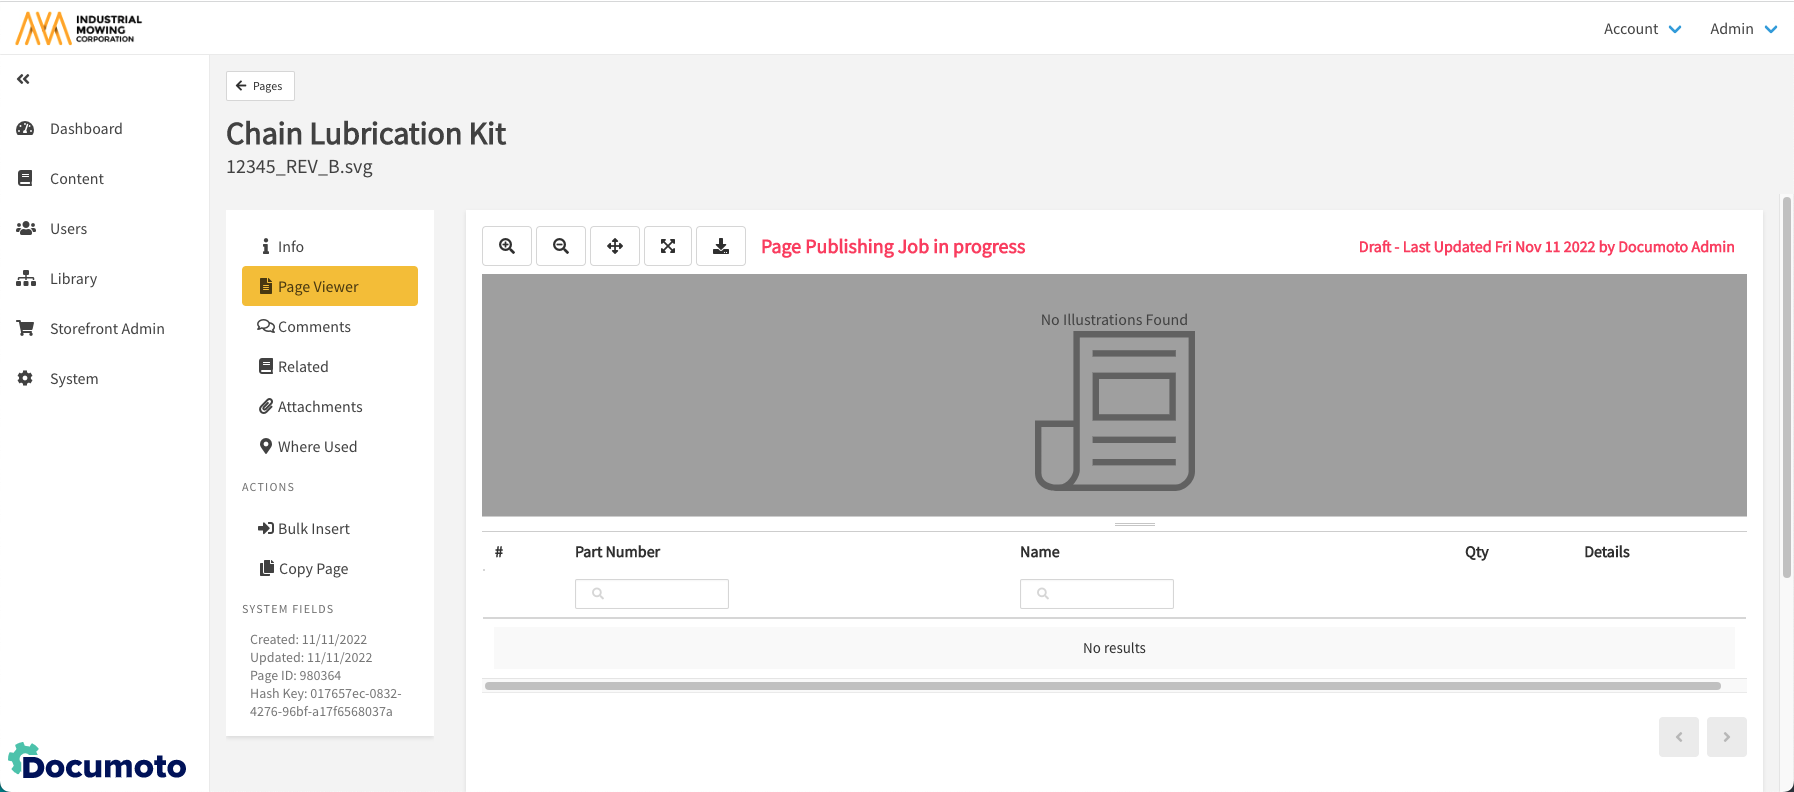
- Once complete, the "Page Publishing Job in progress" message will no longer be displayed - indicating that the new Page has been published.