Customers who have a need to export their parts manuals into a customized PDF format have the option to configure Print Settings for their part manuals at the tenant, organization or book level. This article explains the steps to access and configure Print Settings for the tenant and organizations and includes instructions for configuring book level Print Settings.
Article Topics
- Print Settings Considerations
- Accessing and Creating a Print Setting
- Info
- Header and Footer
- Row Formatting Options
- Layout
- Margins
- Typography
- Watermark
- Layout Options
- Cover & Stitch Pages
- Parts Pages
- Page Layout
- Typography
- Options
- Parts Columns
- Overriding Print Settings at the Organization and Book Level
- Print Settings at the Organization Level
- Print Settings at the Book Level
Print Settings Considerations
- Print Settings can be set at the tenant, organization, or individual book level.
- Numerous Print Settings can be configured.
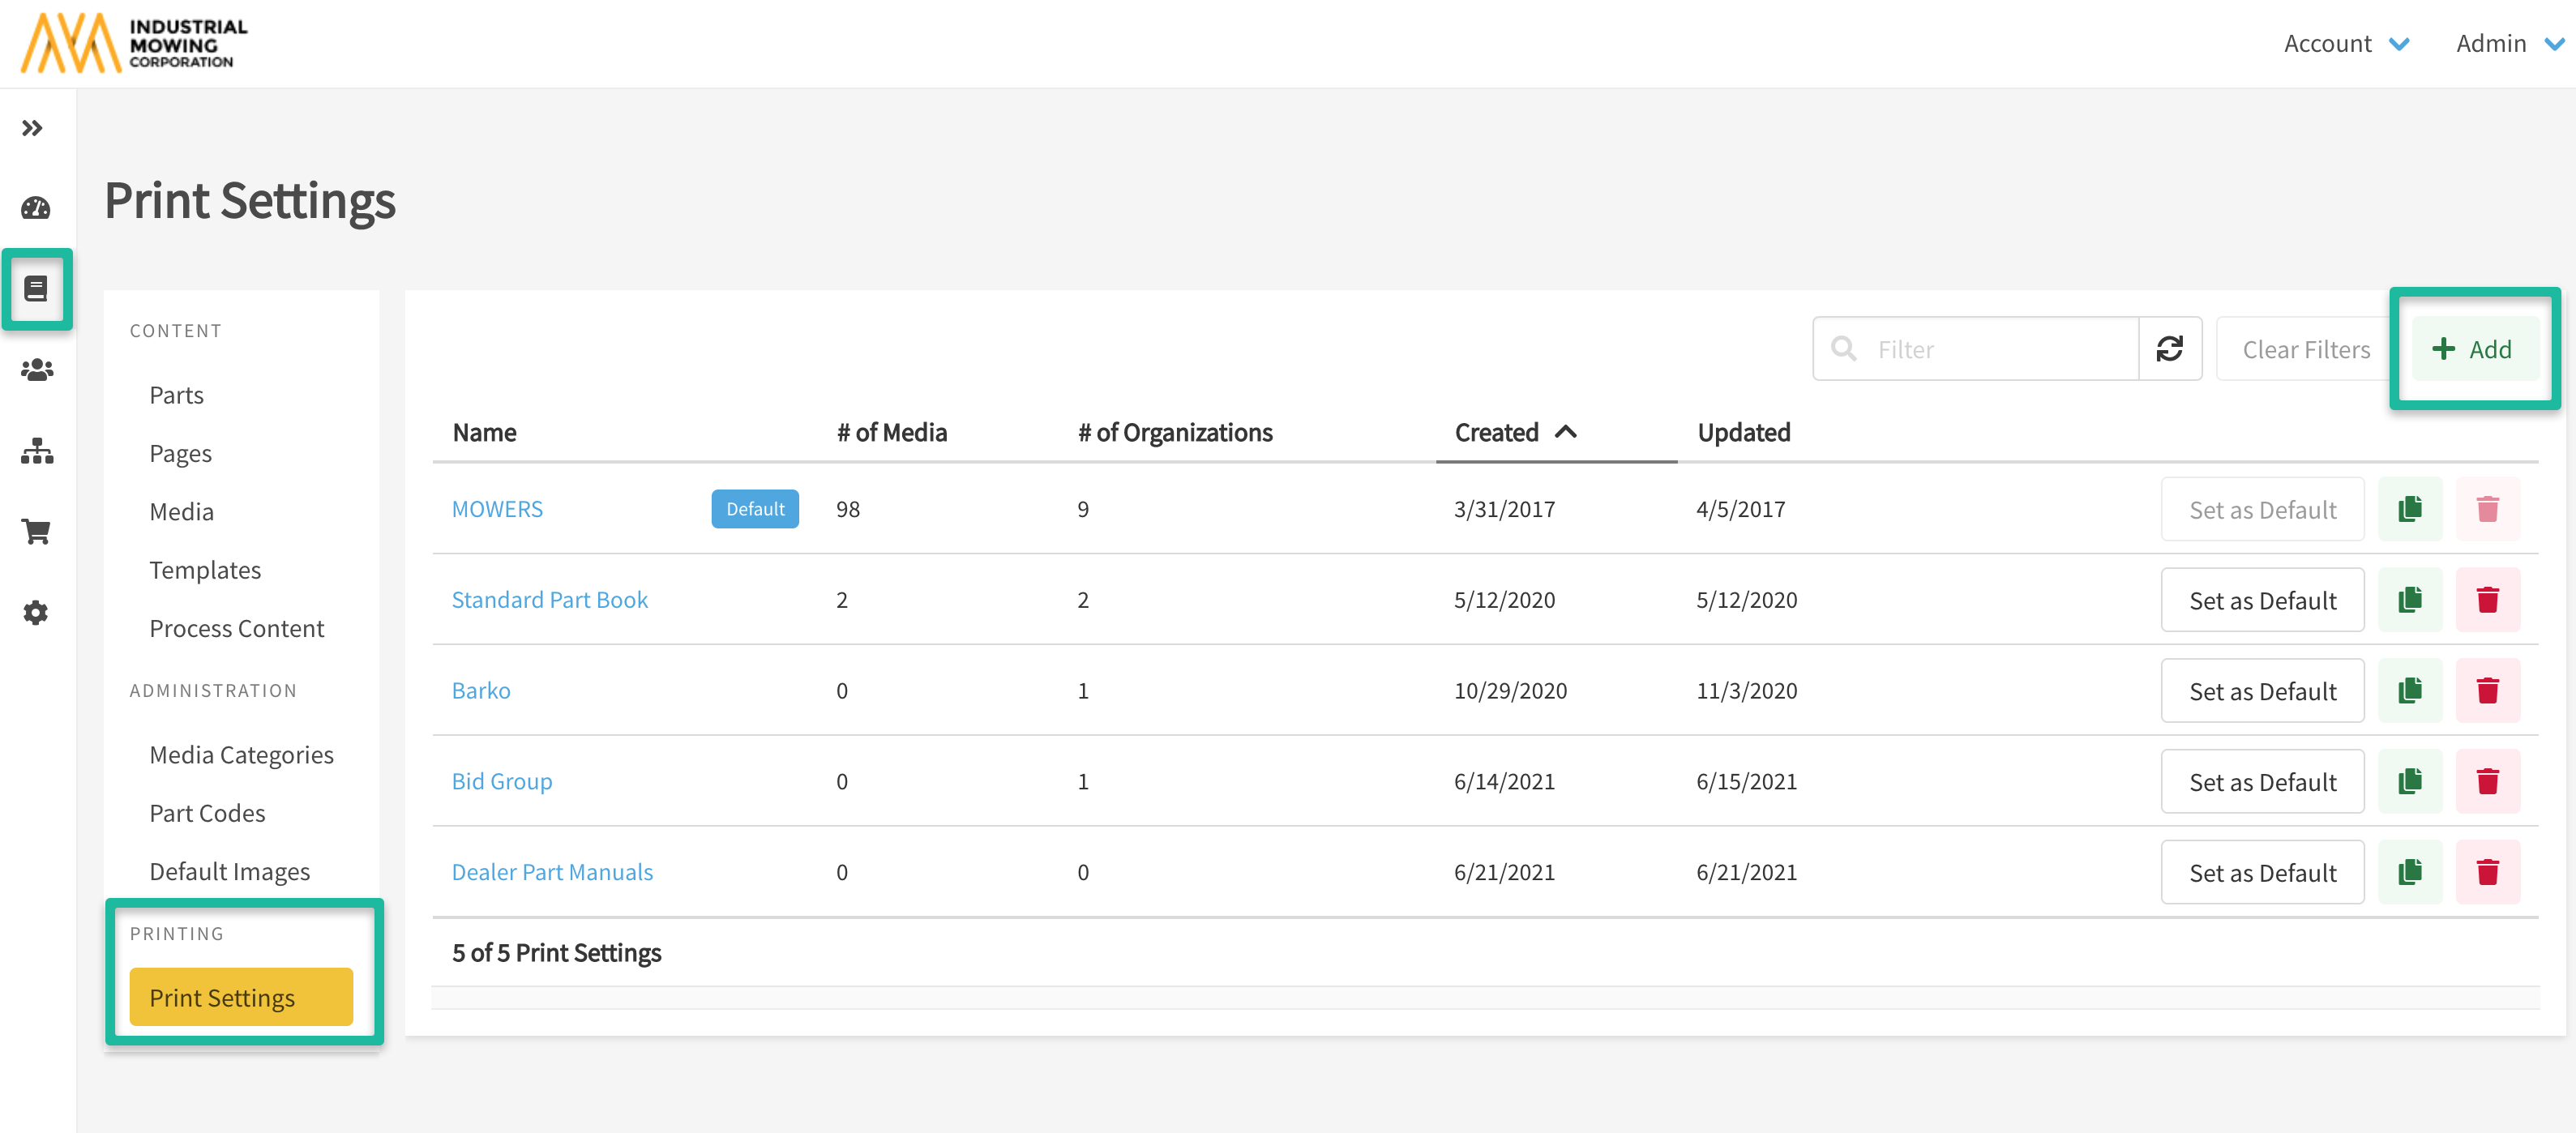
- Only one Print Setting can be marked as the 'Default' - which will be considered the tenant-level Print Setting and will automatically be inherited by all organizations (unless an override is in place).
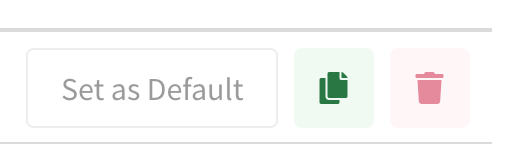
- Similar to Book Templates, users can copy an existing Print Setting and modify it to something new. Refer to the green copy icon in the screenshot below to do so
- Delete a Print Setting all together - Please make sure another Print Setting is being used for your parts manual before deleting an existing one.
- Preview options for Print Settings are not currently available; to view the output of your Print Setting, export a book from the Library.
Accessing and Creating a Print Setting
- Go to Admin Center > Content Manager > Printing > Print Settings.
- Click the +Add to create a new Print Setting.
- Enter a Print Setting Name and click Save.
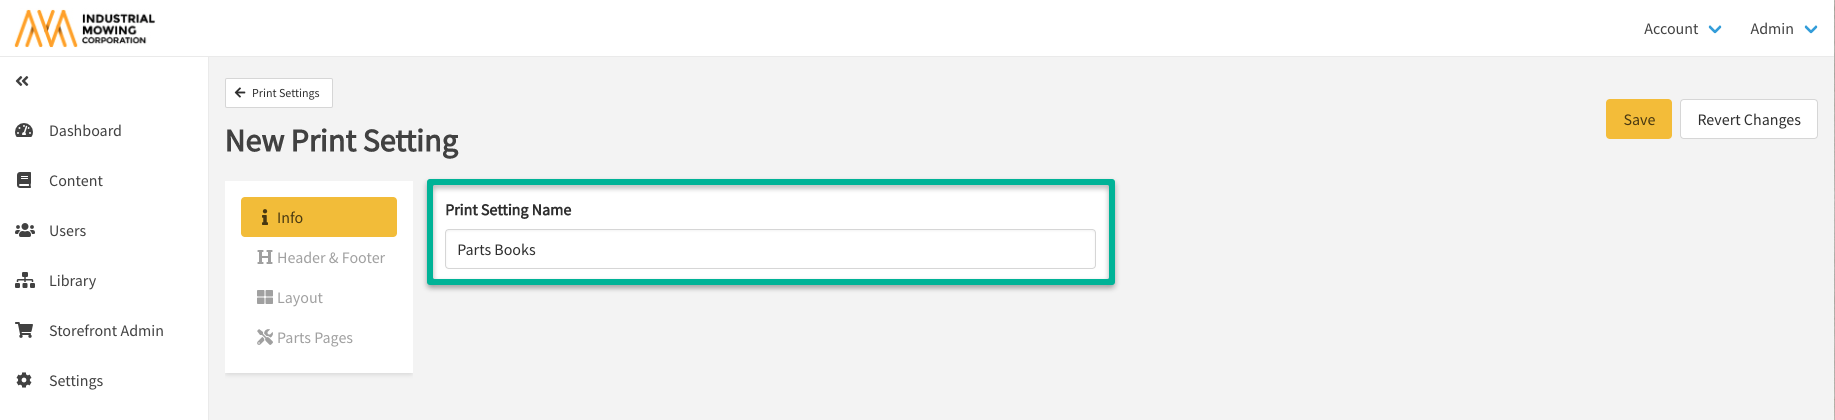
In the subsequent sections, we will walk through the various settings and options available within Print Settings.
Info
After entering the Print Setting Name, you will have the option to Override PDF Filename Standard. If you do not choose to override the filename, the system will assign a filename. For more information on overriding the printed filename, please see this article: How to Override the PDF Filename for Printed Content.
Header and Footer
Once you have created a new Print Setting, click Header and Footer to customize the look and feel of pages to continue your setup:
Header and Footer settings only apply to pages and do not affect the front cover, back cover, stitch pages or table of contents format.
The below instructions and details apply to the configuration of both the Header and Footer:
- Confirm which available font and font-size you'd like to use.
- Determine if the contents should be Bold, Italicized, and/or Underlined - if any.
- Select a font color
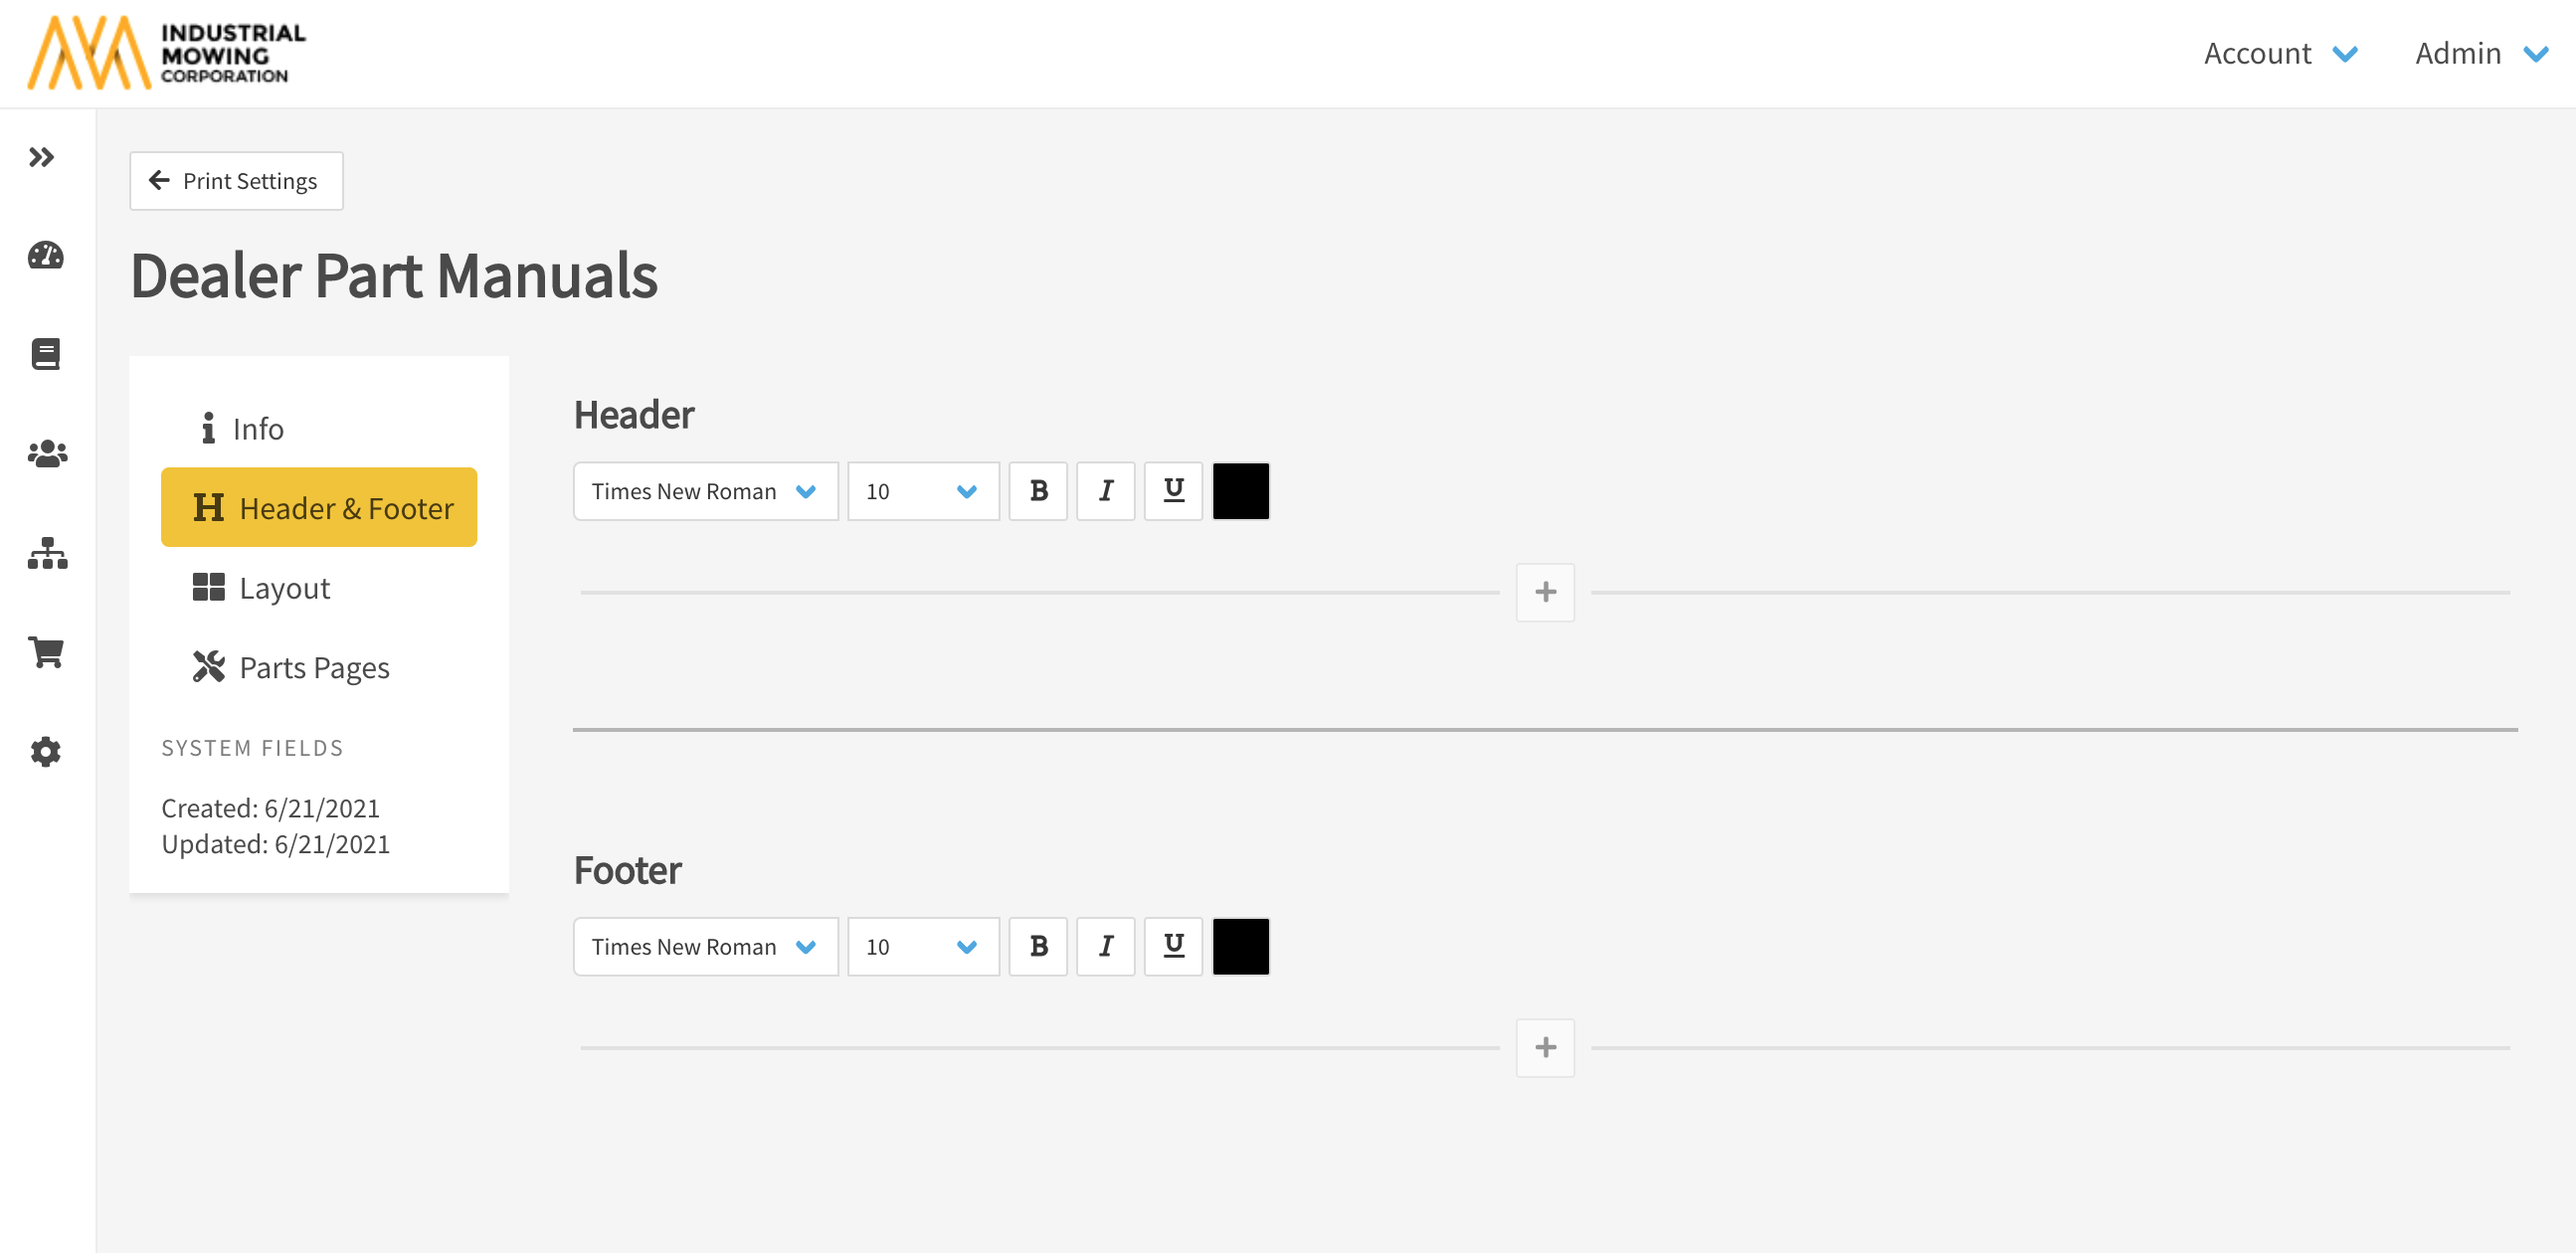
- Click on the + to add a row and determine what your new row should contain:
- Horizontal line
- Rows containing branding and/or book information that are:
- Full width
- Two column
- Three column
Row Formatting Options
Horizontal Line: Use this formatting option to add a line that can be customized to fit your branding needs.
Full Width: Content is treated as one column and available field values are stacked vertically.
Easily add and manage changes to horizontal lines and a full width column as shown below:
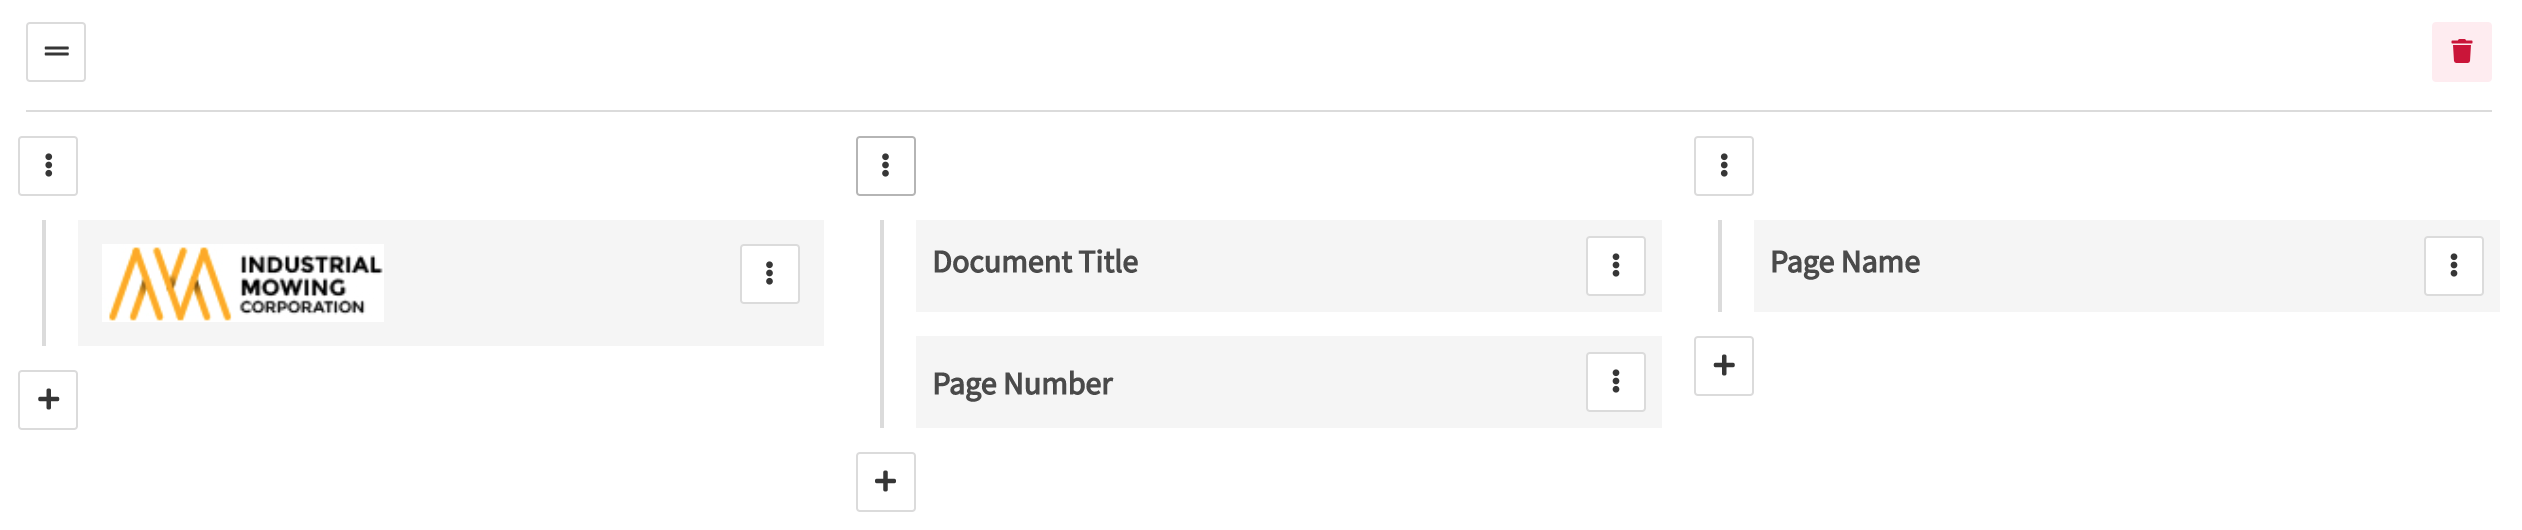
Two Column: Content is handled in two columns (left justified and right justified) with the option to select field values that should appear in each column.

Three Column: Content in header is handled in three columns with the option to select field values that should appear in each column.
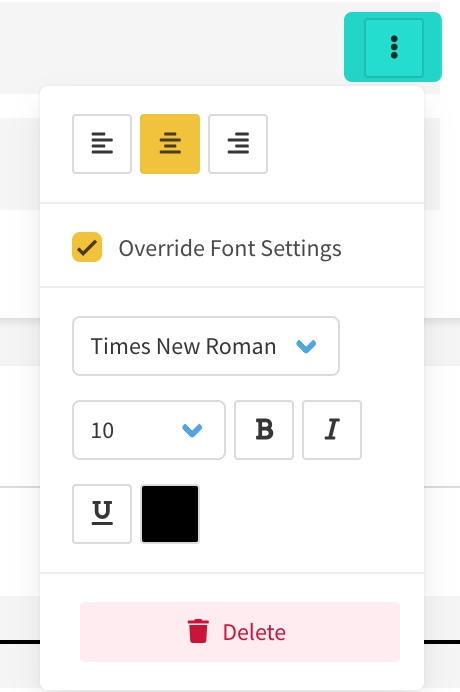
While configuring your header, you will see a vertical ellipses  that will display additional menu options for an available setting or field:
Delete: Allows you to delete a field, section, or entire header.
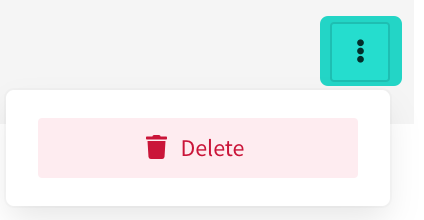
Override Font Settings: Allows you to override the particular font settings (alignment, font, font size, format, and color for a field. You an also delete the field from this menu.
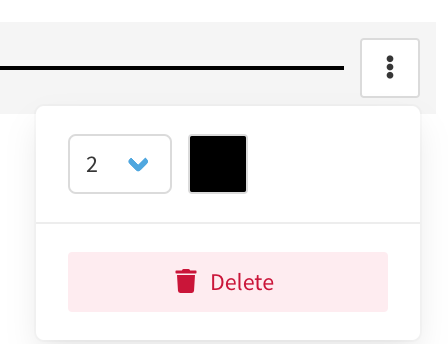
Horizontal Line Width: Increase the width of your horizontal line as well as the color you'd like to set.
Header and Footer Tips
- Use the + to add a new column or field to your header or footer
- Move your fields by dragging and dropping them across the column(s) you set up
- The Tag option will display a list of all available media tags that can be included in your Header or Footer
Layout
Once you are satisfied with the Header and Footer, the Layout portion of your Print Settings is further defined by 4 areas:
- Margins
- Typography
- Watermark
- Layout Options
- Cover & Stitch Pages
For a full breakdown of the available options you can set and the details, refer to the steps below for each:
Margins
- Within the Print Setting you are configuring or editing, click on Layout.
- Under UOM (Unit of Measure) select Inches or Centimeters for your margins.
- Set the Margin values for both the top/bottom and left/right side of the page by using the -, +, arrows, or entering a value in the field.
- Click Save
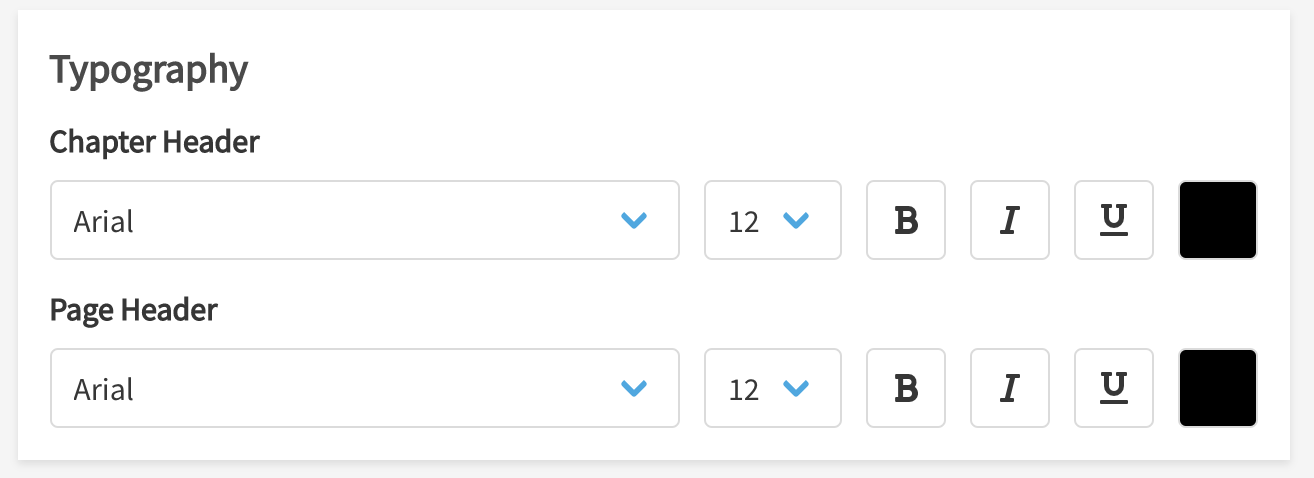
Typography
- Set the Typography for both your Chapter and Page Header, if necessary.
- Click Save.
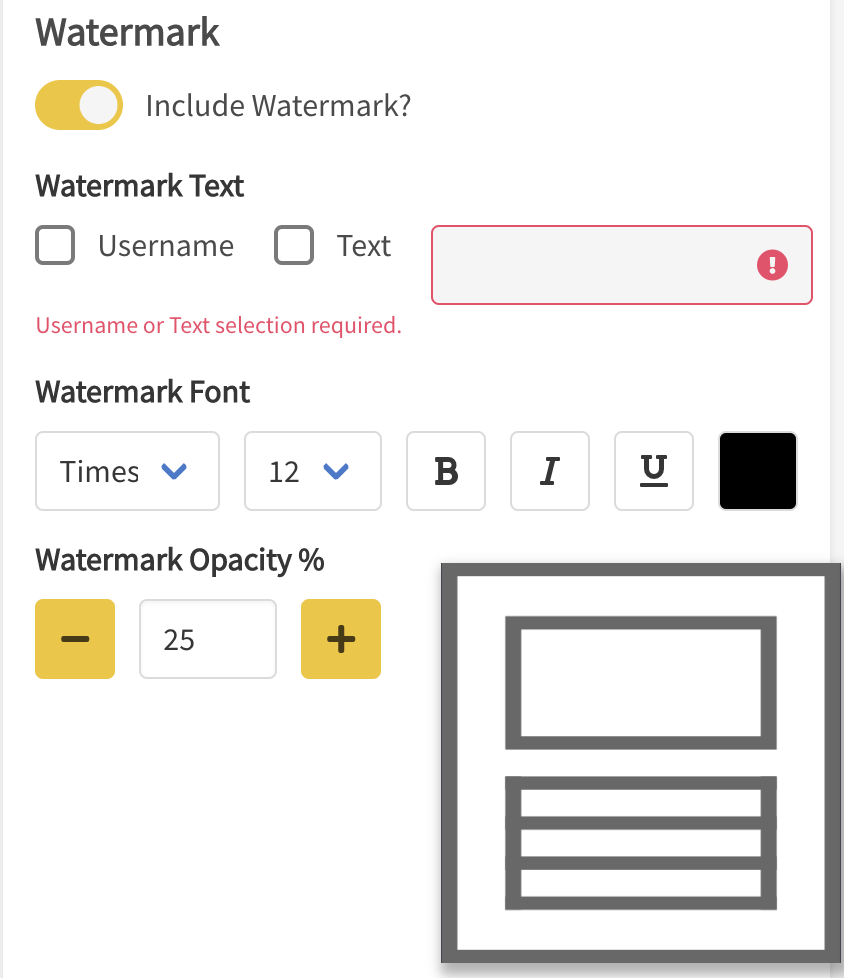
Watermark
Exported books that are printed to PDF with Watermarks will also be locked for editing. They will be uneditable by any person using standard PDF editing tools.
- To include a watermark on all PDF pages of an exported/printed parts manual, enable the Include Watermark ? toggle.
- To configure how the watermark displays, select the checkbox next to Username or Text.
- By selecting Username, the Documoto Username of the person exporting/printing the parts manual will appear on each PDF page, including cover and stitch pages.
- If Text is selected, type the text that you wish to appear as a watermark. That text will appear on each PDF page, including cover and stitch pages.
- Configure the Watermark Font and Watermark Opacity %.
- Click Save.
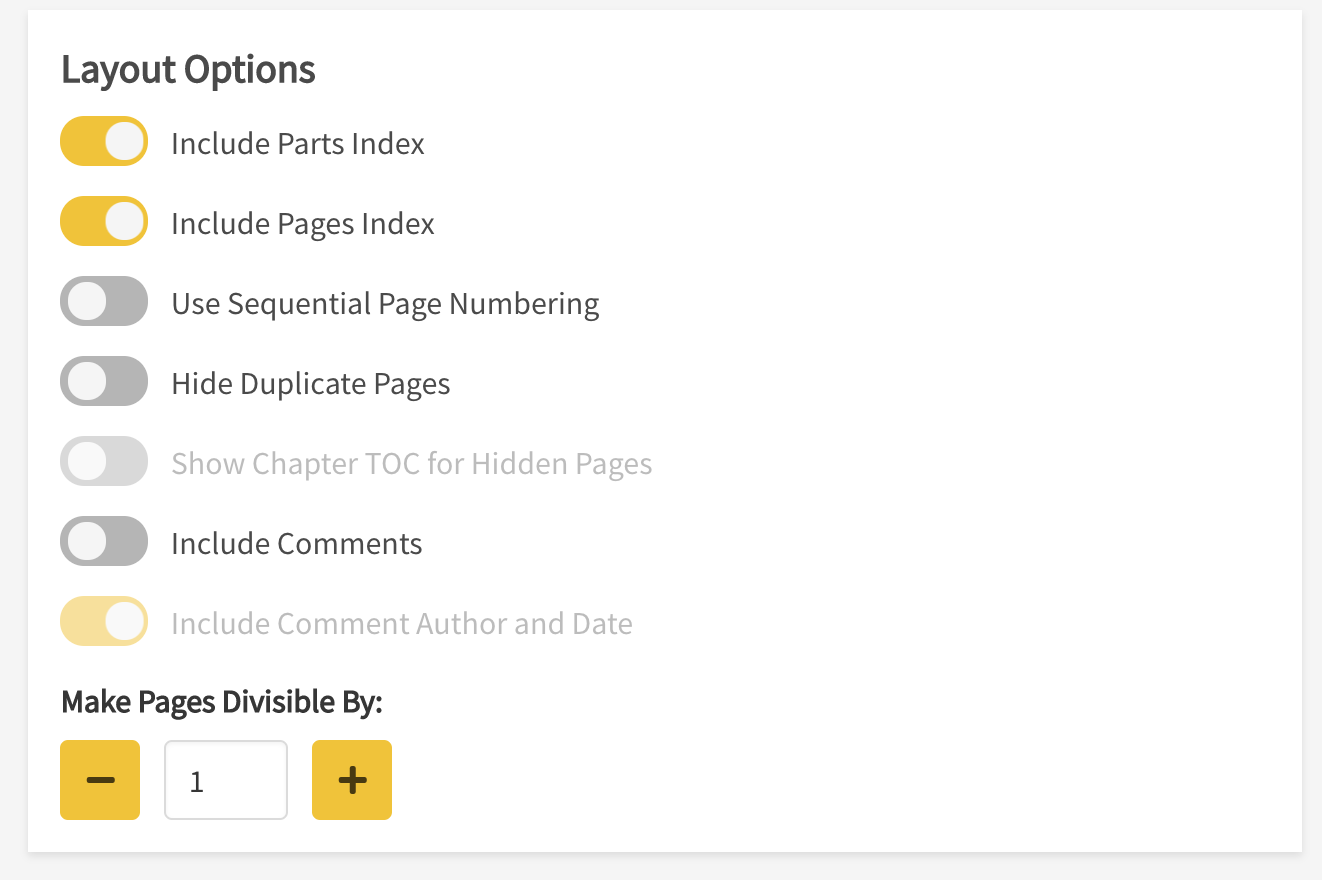
Layout Options
For this section, you will need to enable the settings you would like to invoke when a user exports a PDF parts manual. For a detailed list of what these options are, refer to the below:
- Include Parts Index: Displays a unique list of all available parts within your parts manual. Each page index page will display up to 60 parts, so customers with thousands of parts may not want to enable this option as it can generate multiple pages.
- Include Pages Index: Displays a unique list of all page names within your parts manual.
- Use Sequential Page Numbering:
- If Enabled: Displays page numbering in a simple and chronological order (1, 2, 3, 4, 5, etc).
- If Disabled: Pages are numbered using chapters, sub-chapters, and page counts. (For example, if the second chapter in your parts catalog book had five pages within it, they would be numbered as 2.2-1, 2.2-2, 2.2-3, 2.2-4, and 2.2-5.)
- Hide Duplicate Pages: Pages that appear multiple times in a book will only print once in the PDF parts manual.
- Show Chapter TOC for Hidden Pages: Often used when enabling the Hide Duplicate Pages option above, Show chapter TOC for Hidden Pages will display where the hidden duplicate pages would be via the table of contents for the parts manual.
- Include Comments: Prints comments associated to parts and pages.
- Include Comment Author and Date: If Include Comments is enabled above, you can choose to also print the comment author name and date in your parts manual.
- Make Pages Divisible By: Sets page number visibility divisible, by setting a number. For example, if you want the page number to appear on even pages only, enter ‘2’ in the field.
Cover & Stitch Pages
Cover Pages allow users to include the same covers across the front or back of their parts manual for branding purposes. Whereas Stitch Pages are typically standard instructional information, warning, or warranty documents that should be printed in each printed parts manual.
- For either a Cover or Stitch page, click Browse to upload the PDF of your choice.
- Once uploaded, the file will automatically Save.
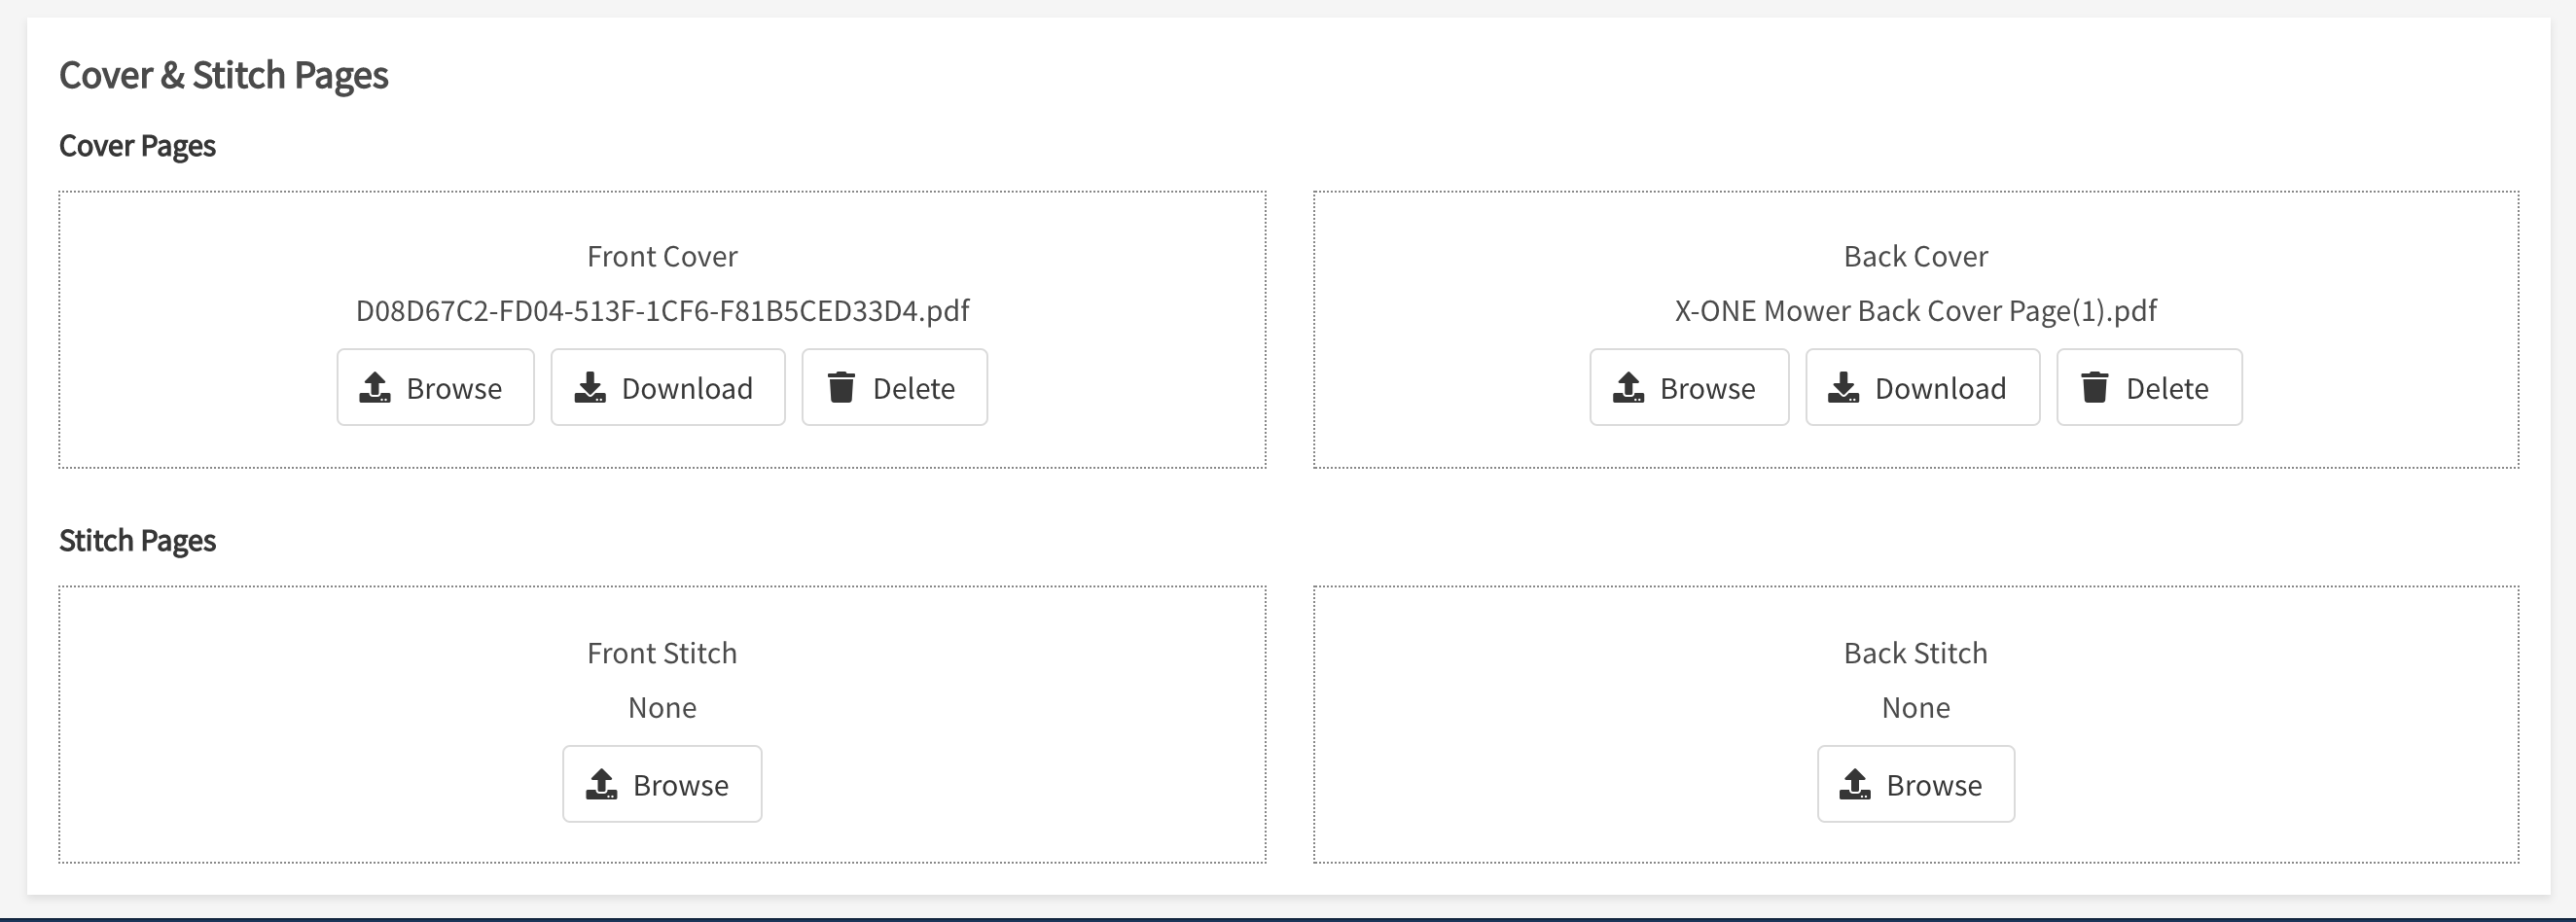
Front Stitch Pages are placed between the front cover and table of contents pages. Back Stitch Pages are placed between the appendices and back cover pages.
Parts Pages
Parts Pages provide publishers with various settings to help further configure the layout of their printed parts catalogs at the part and page level. This editor is further defined by 4 areas:
- Page Layout
- Typography
- Options
- Parts Columns
For a full breakdown of the available options you can set and the details, refer to the steps below for each:
Page Layout
- Within the Print Setting you created or are editing, click on Parts Pages.
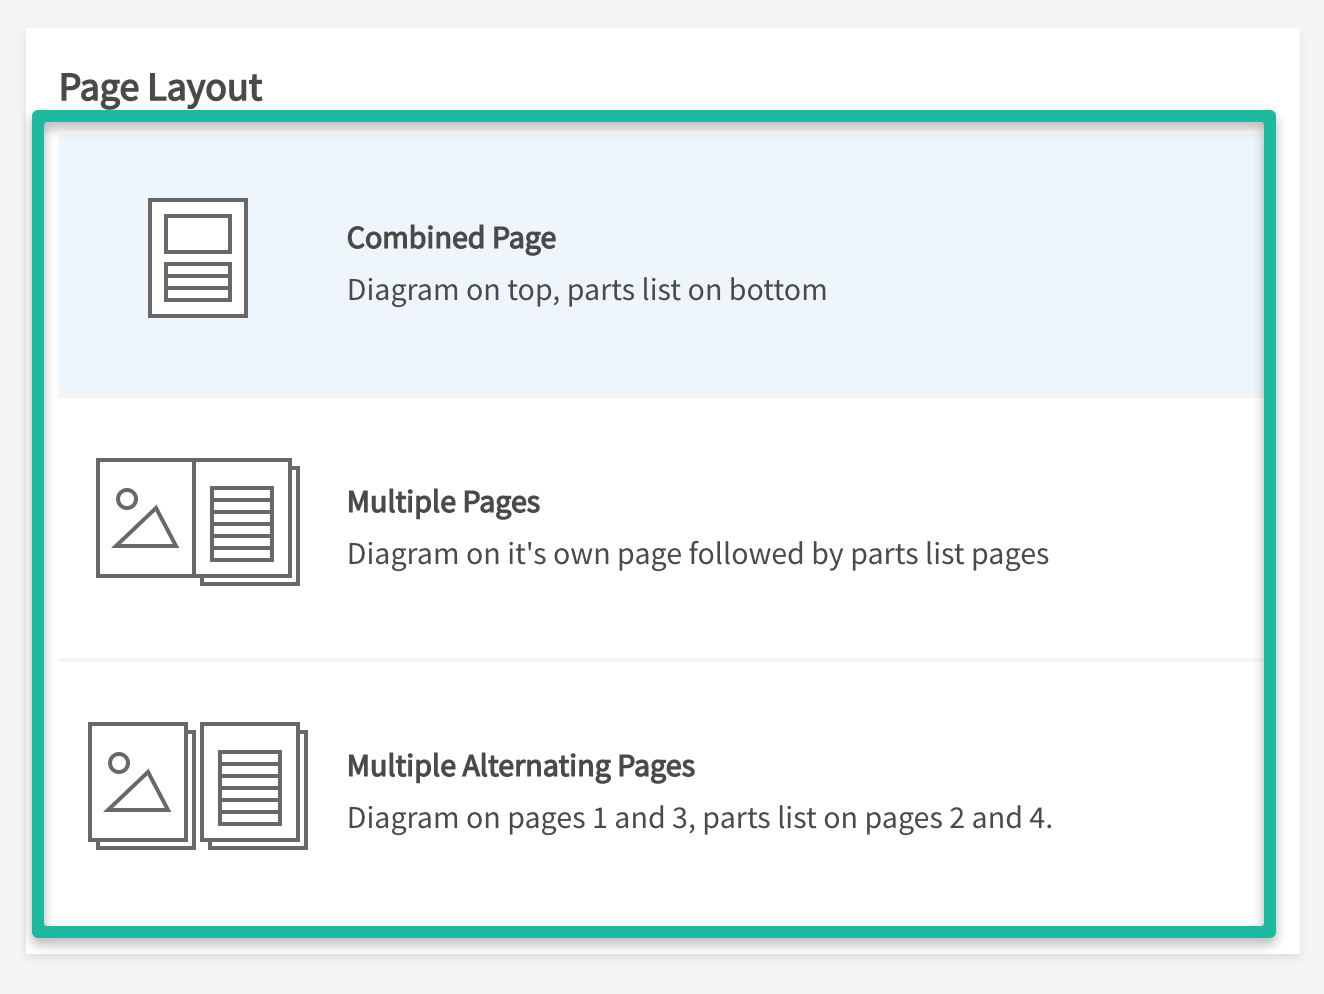
- Under the Page Layout section, select 1 of 3 tiles for how you want the parts manual to print.
- Click Save.
For a detailed description on Page Layout, refer to the bullets below:
- Combined Page: Prints pages as a single page with the diagram on the top and parts list on the bottom. If the diagram is large, the BOM will continue onto the next page.
- Multiple Pages: Prints diagrams on its own page, followed by parts list pages. If the parts list or diagram extends beyond a single page, the BOM or diagram will continue on the next page.
- Multiple Alternating Pages: Prints diagrams on its own page, followed by parts list pages. If the parts list or diagram extends beyond a single page, the corresponding diagram or parts list will repeat to match the extended parts list or secondary diagram.
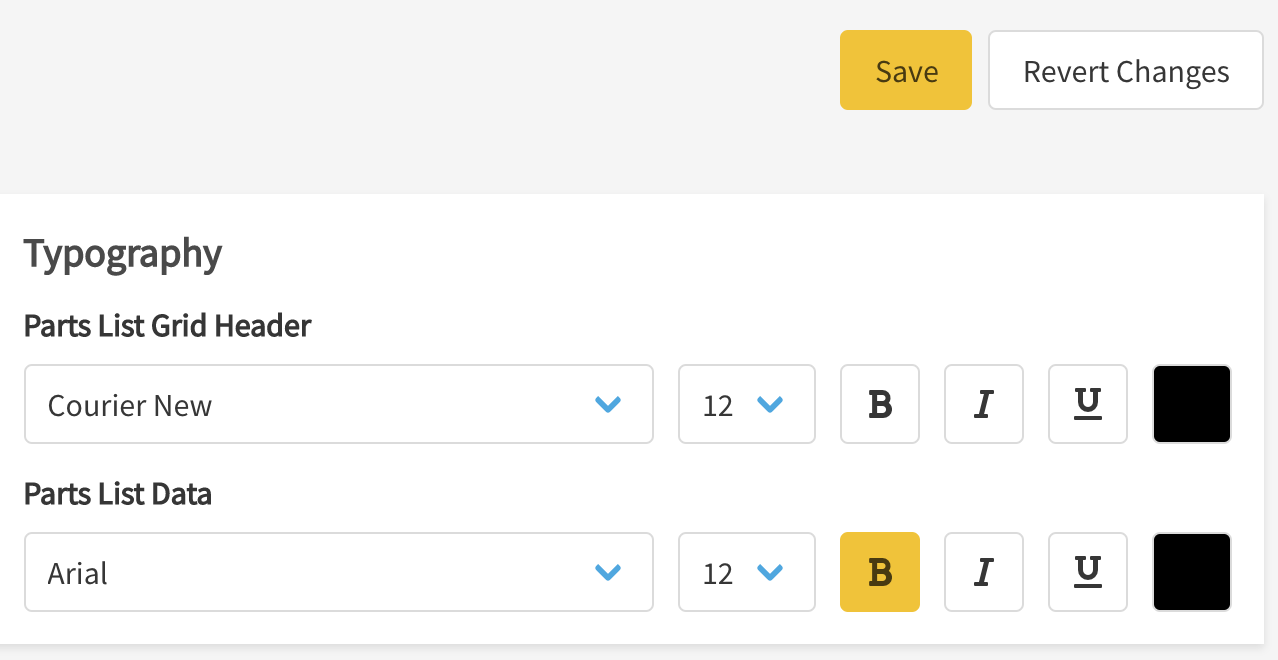
Typography
- Set the Typography for both your Parts List Grid Header and Parts List Data, if necessary.
- Click Save
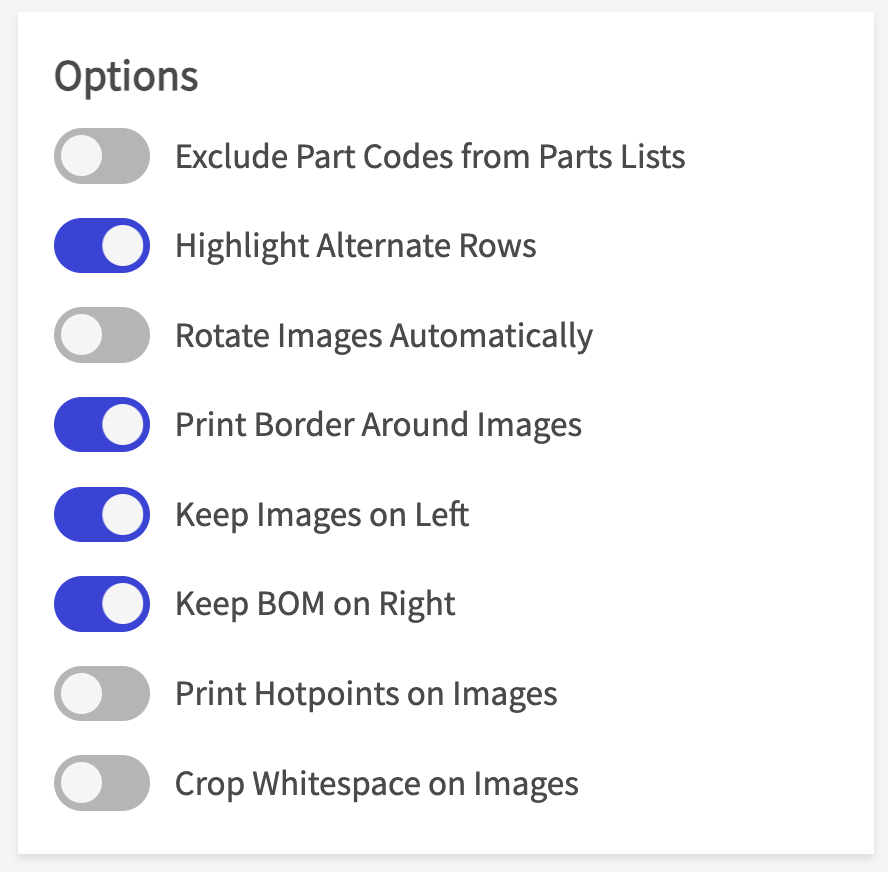
Options
This section allows you to toggle the options listed below and either enable or disable certain aspects of how the page layout will print. Once satisfied with your changes, click Save.
For a detailed description of each item, refer to the bullets below:
- Exclude Part Codes from Parts Lists: Enabling this option removes any line items from the BOM or parts lists that contain a part code as their part number such as OBS, REF, etc.
- Highlight Alternate Rows: Enabling this option displays an alternating background color of light grey for rows in a parts list.
- Rotate Images Automatically: Enabling this option prevents single diagrams from extending to multiple pages by rotating the image to a portrait or landscape orientation when necessary.
- Print Border Around Images: Enabling this option allows you to set a simple border around your images/diagrams.
- Keep Images on Left: Used only in conjunction with users who set Multiple Pages or Multiple Alternating Pages as part of their Page Layout. Enabling this option keeps diagrams on the left page of a parts book when printed.
- Keep BOM on Right: Used only in conjunction with users who set Multiple Pages or Multiple Alternating Pages as part of their Page Layout. Enabling this option keeps diagrams on the right page of a parts book when printed.
- Print Hotpoints on Images: When this setting is enabled, it will print both regular hotpoints (circle) and hotpoint links (square) overlayed on the image. With this setting disabled it will not include the hotpoints. The default setting is Disabled.
- Crop Whitespace on Images: crops extra whitespace from images. Note: This setting cannot be enabled if "Print Hotpoints on Images" is enabled, but can be used in combination with the "Rotate Images Automatically" print setting to allow a diagram to use the maximum possible space in printed content.
Parts Columns
The Parts Columns section provides users the ability to determine which part columns to print. By clicking Add Categories you have the option to select fields from the following two categories:
- Part Information: Pick from a list of 5 standard fields (Item, Part Number, Part Name, Quantity, and UOM)
- Tags: Pick from a list of your configured part, page part, and part tags

To add or modify Parts Columns from the editor, follow the instructions below:
Add a Parts Column
- Click Add Categories and select a value fro either the Part Information or Tag Section.
- Select the field from the drop down list and it will carry over to the Parts Column section
- Review the Remaining Width to see how much space you can dedicate to the new column (Note: The Width Scale goes up to 100, so as you increase the scale for each of your columns the overall number will decrease)
- Click Save.
Modify a Parts Column
- Moving Parts Column Order: Click and drag a Parts Column Row to display it where you'd like.
- Increase/Decrease Width: Click on the -, +, arrows to change the column width. You can also directly enter the value.
- Delete: Select the red Delete icon to remove a parts column.
Make sure to save all your changes once you've finished modifying your Parts Columns!
Overriding Print Settings at the Organization and Book Level
As mentioned earlier, setting a default Print Setting will be inherited at the tenant level. For customers who need additional flexibility to override tenant-level Print Settings, Documoto provides the option to do so at both the organization and/or book level. For instructions on how to do both, follow the steps below:
Print Settings at the Organization Level
- Within Admin Center, go to User Management > Organizations > Select your Organization.
- Go to Print Settings and enable Override Print Settings.
- You will then have the option to pick a different Print Setting that has been configured.
- Once selected, the changes will automatically save.
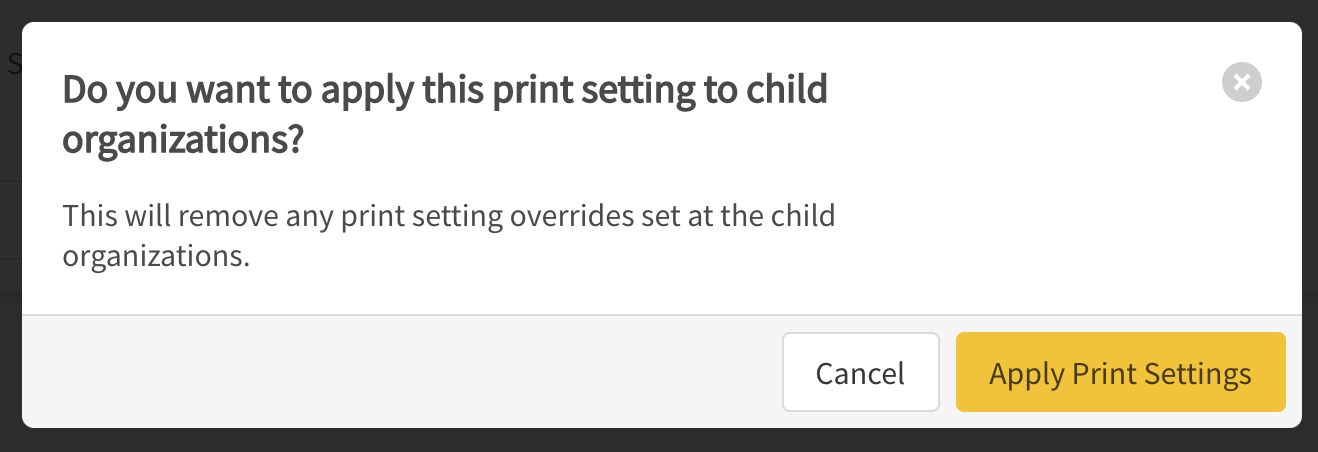
You will also see an option called Apply to Child Organizations. If selected, this option gives you the ability to also set the new Print Setting to any child organizations below the organization you have selected.
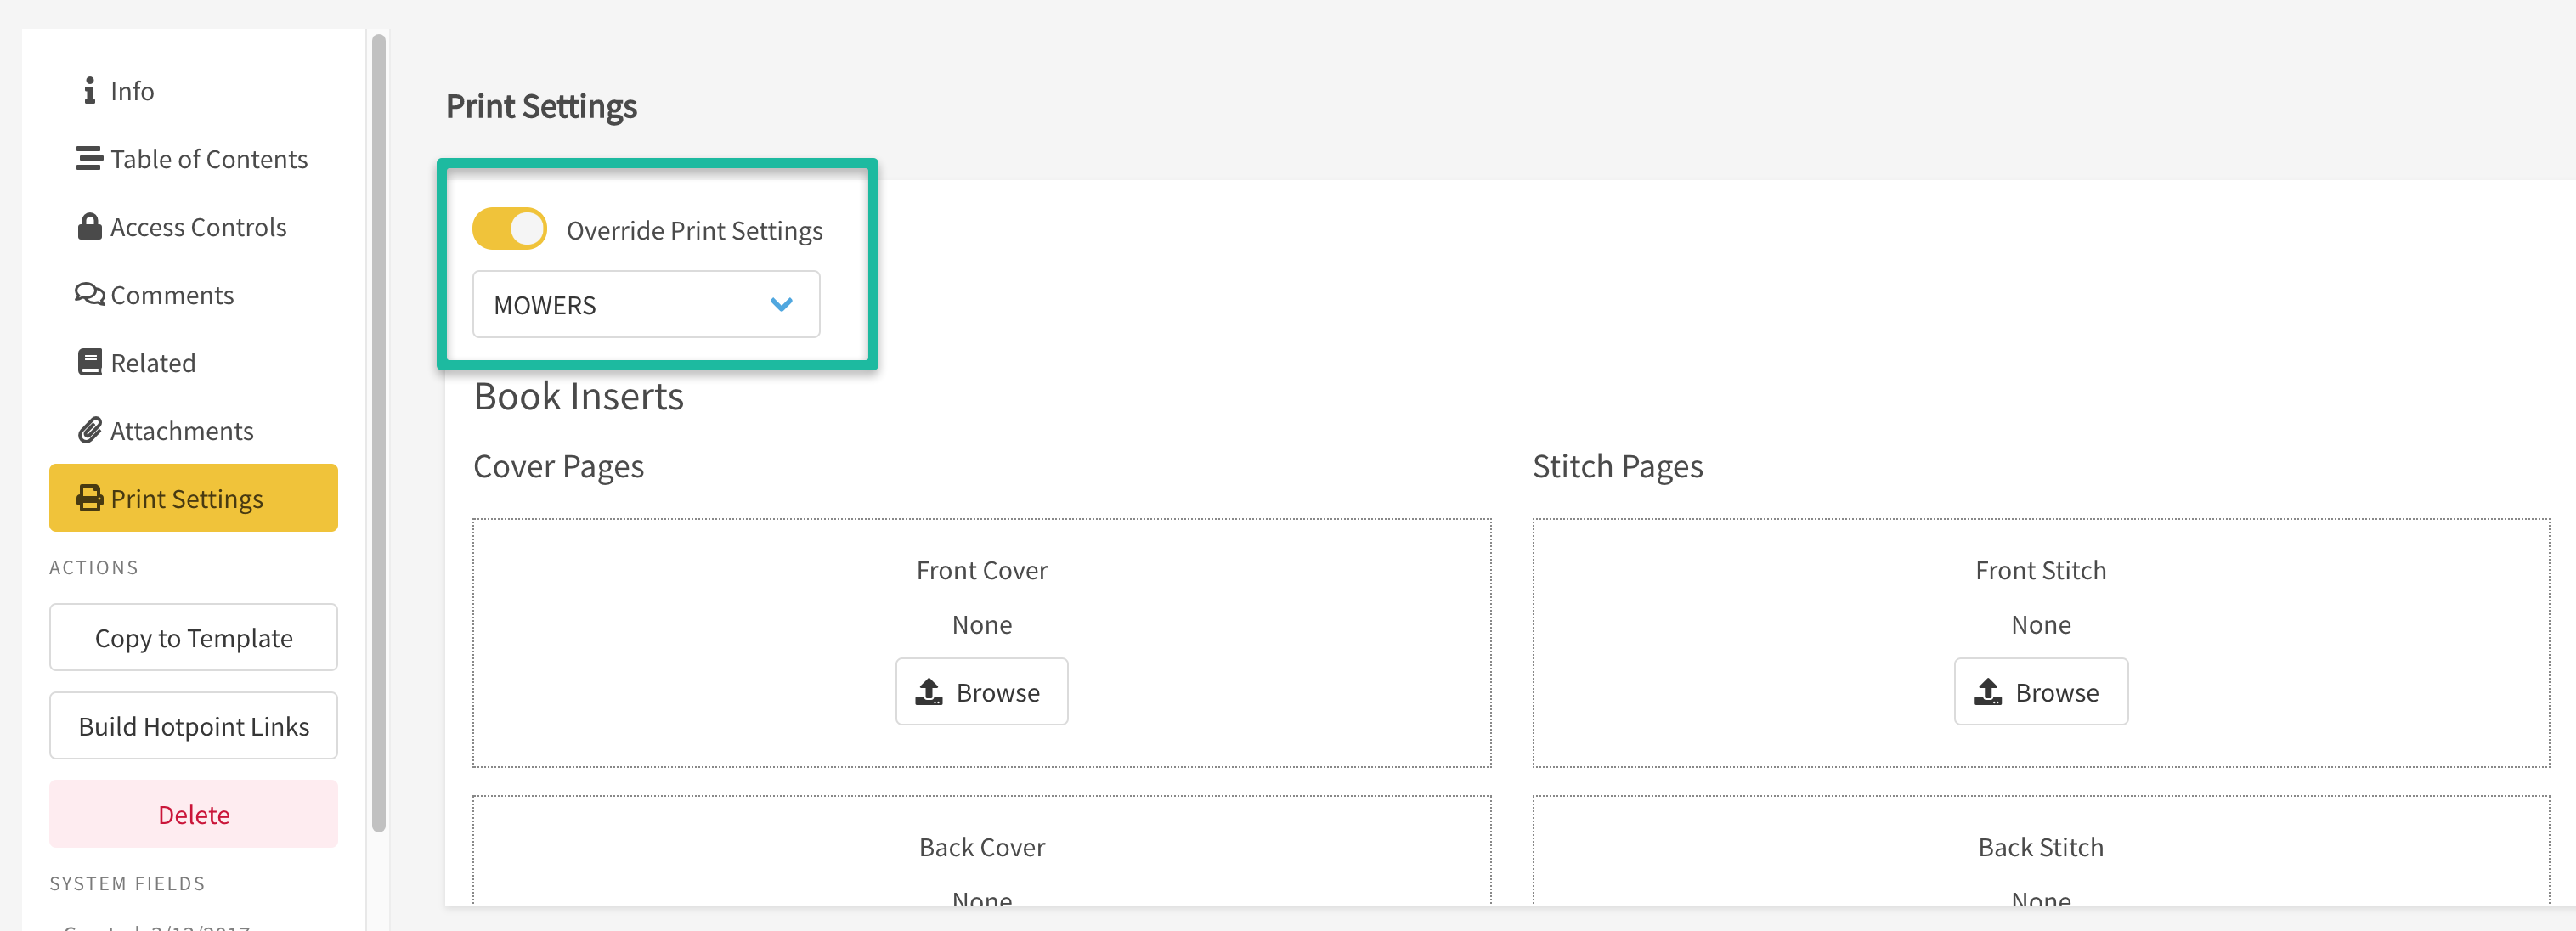
Print Settings at the Book Level
Customers who only need to override Print Settings for particular books, can do so by following the steps below:
- Within Admin Center, click on Content Manager > Media > Search/Select your book.
- Click on Print Settings and enable Override Print Settings.
- You will then have the option to pick a different Print Setting that has been configured.
- Once selected, the changes will automatically save.
You will also see an option for Cover and Stitch Pages here.